 International
 Singapore
 Malaysia
 Thailand
 Vietnam
Your shopping cart is empty!
Tetris Game Using Raspberry Pi Pico 2
- Aishah Kamal
- 21 Aug 2024
- Tutorial
- Beginner
- 41
Creating a Tetris game using an OLED display and three buttons is an exciting project! Below is a step-by-step guide that covers the necessary components, wiring, and code.
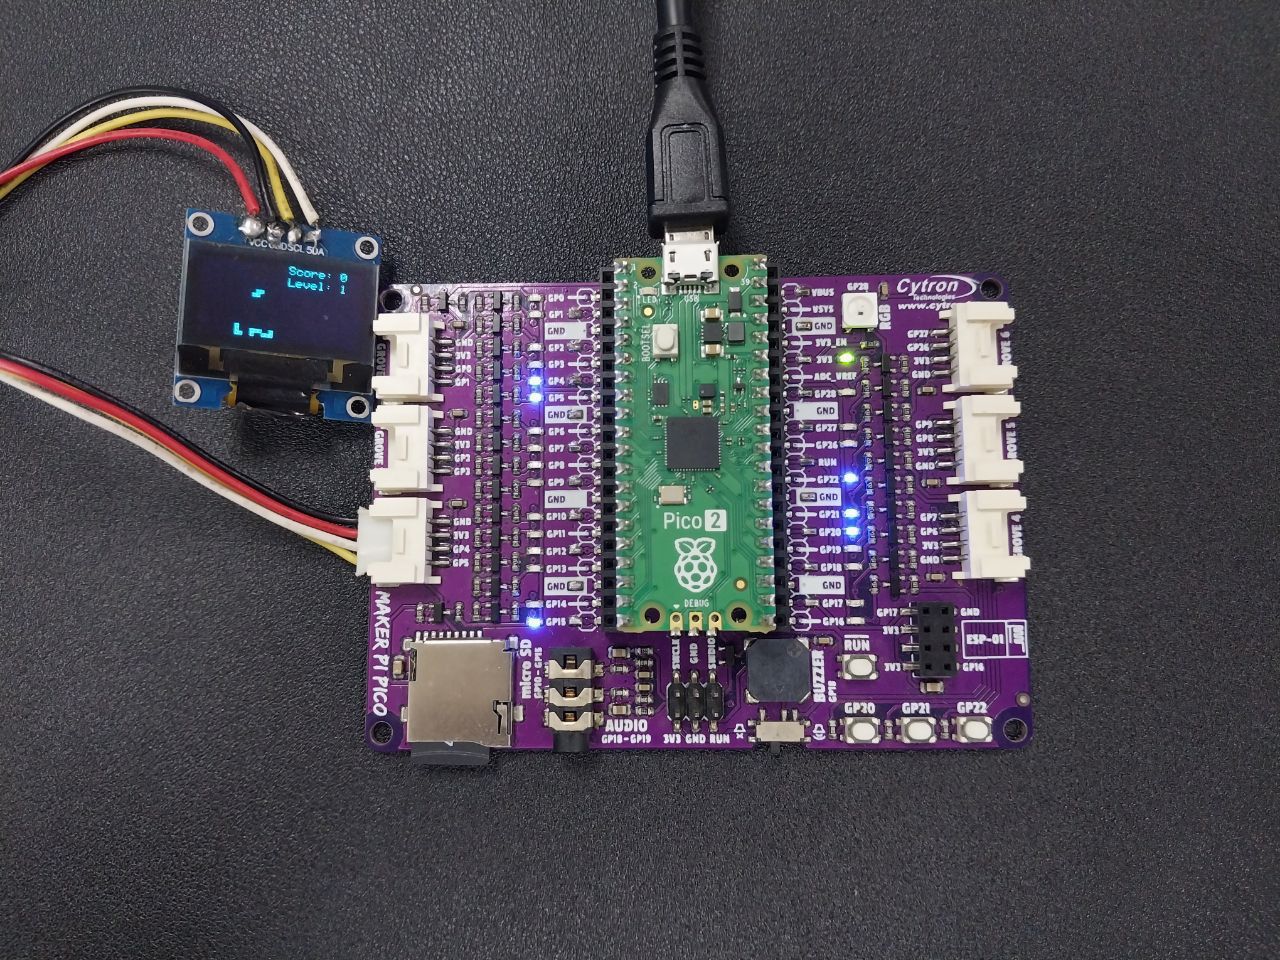
Components Needed:
- Microcontroller: Raspberry Pi Pico 2
- OLED Display: 128x64 I2C OLED display.
- Buttons: 3 push buttons.
- Resistors: 10k ohm resistors for pull-down/pull-up resistors. (optional)
- Breadboard and wires. (optional)
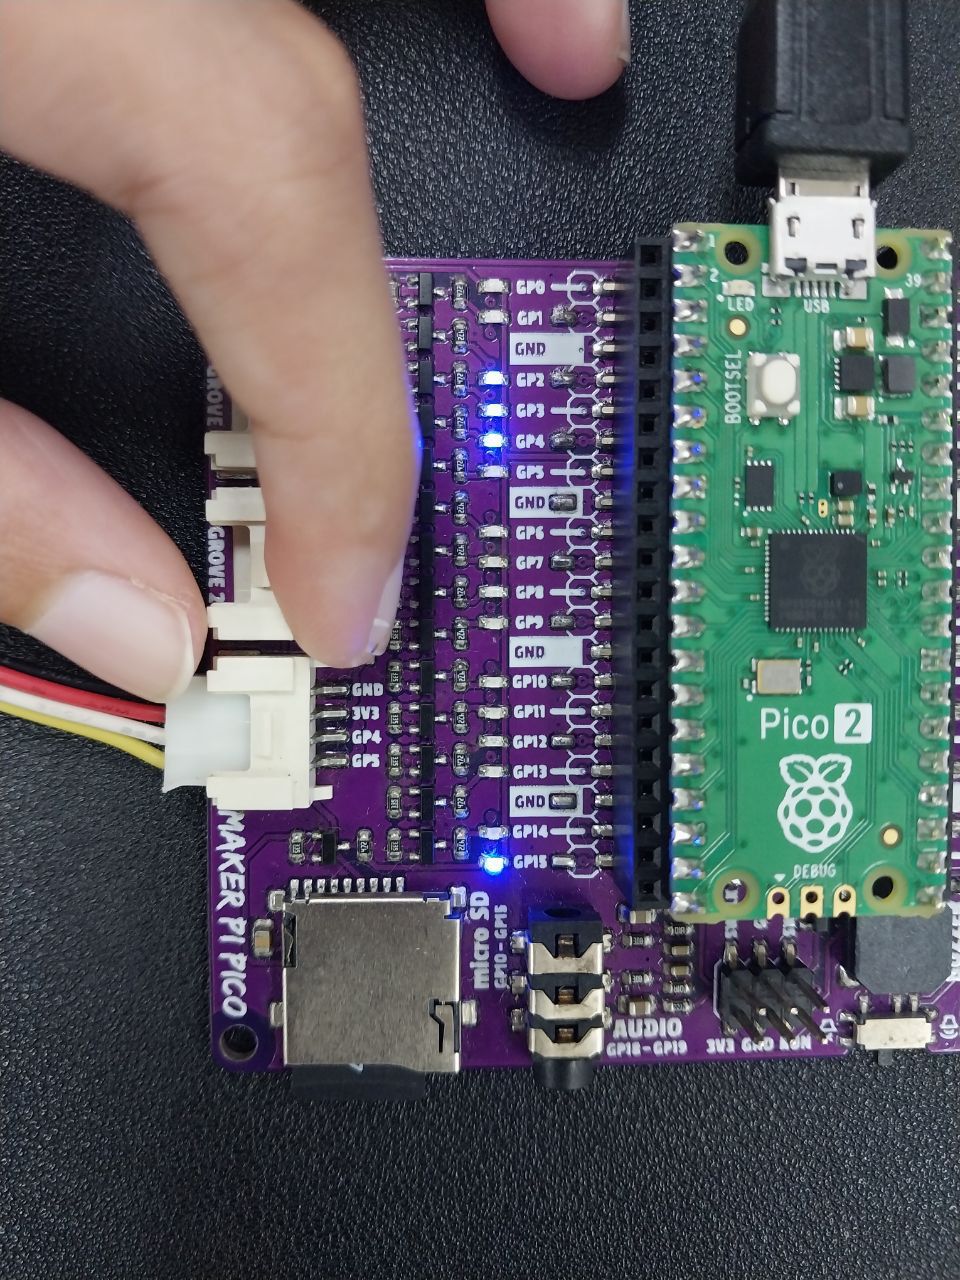
Step 1: Setup the Hardware
1.1. Wiring the OLED Display
- VCC to 5V on the Raspberry Pi Pico 2.
- GND to GND on the Raspberry Pi Pico 2.
- SCL to GP5 (or SCL pin on your Raspberry Pi Pico 2).
- SDA to GP4 (or SDA pin on your Raspberry Pi Pico 2).
1.2. Wiring the Buttons (optional if not using the extended board)
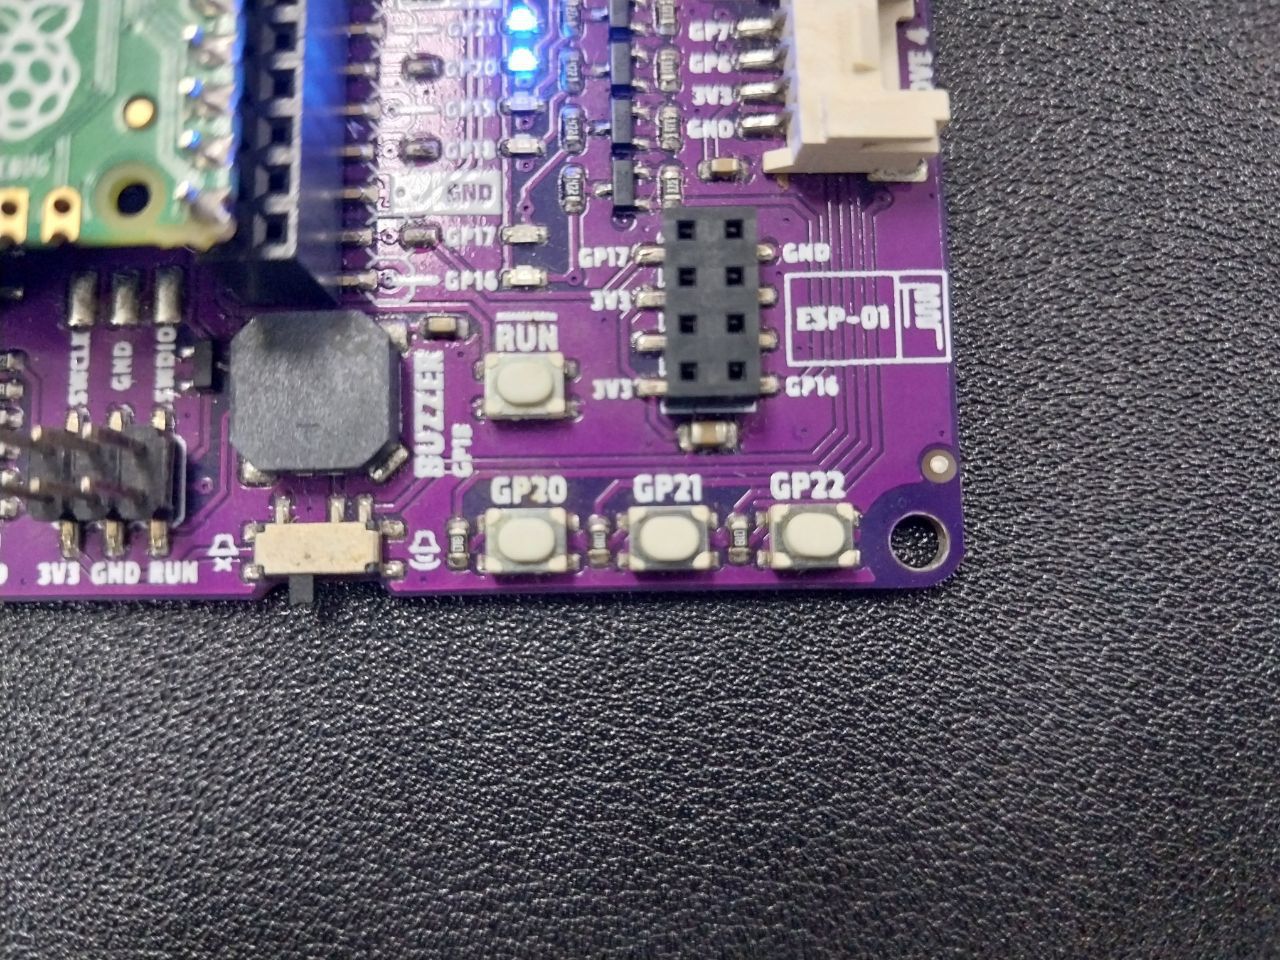
Each button will be connected to a digital pin on the Raspberry Pi Pico 2. For simplicity, we'll use pull-up resistors.
- Button 1:
- One leg to GND.
- The other leg to GP20
- Button 2:
- One leg to GND.
- The other leg to GP21
- Button 3:
- One leg to GND.
- The other leg to GP22
Step 2: Install Required Libraries
Get the library here
Step 3: Writing the Code
Get the code here
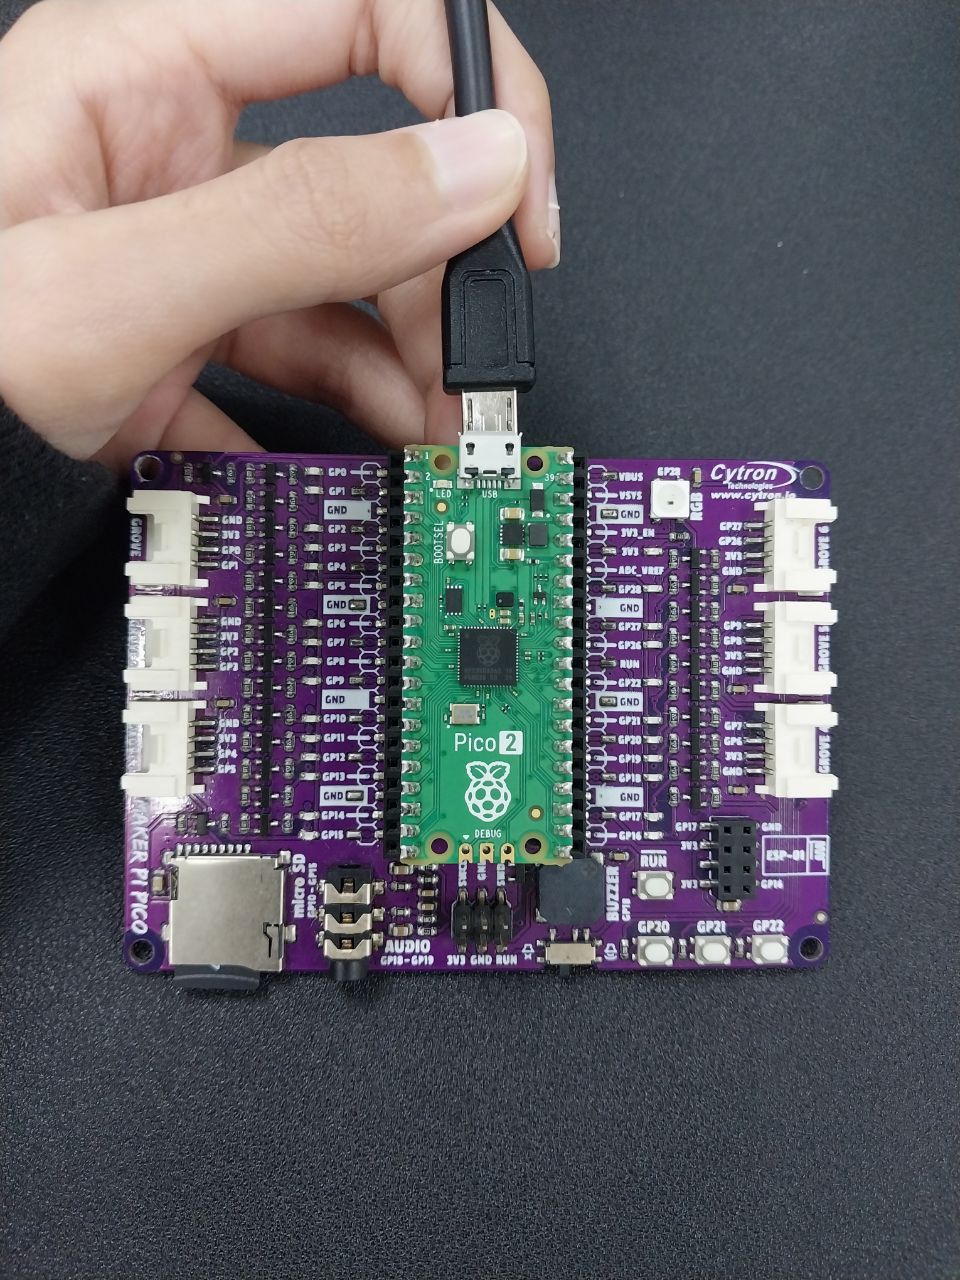
Step 4: Connect the Raspberry Pi Pico 2 to computer
Step 4: Testing
- Upload the code to your Raspberry Pi Pico 2.
- Ensure the OLED displays the game board and that the buttons move the pieces as expected.
- Debug any issues by checking connections or serial outputs.
Video Output