 International
 Singapore
 Malaysia
 Thailand
 Vietnam
Your shopping cart is empty!

Raspberry Pi 5 - Updating Bootloader and Boot from NVMe SSD
- Asri Ruslan
- 24 Jan 2024
- Tutorial
- Beginner
- 1523
Keeping your Raspberry Pi's firmware up-to-date is crucial for accessing new features, improvements, and bug fixes. The Raspberry Pi Imager simplifies the process, making it easy for users to update their firmware. Follow this comprehensive guide to ensure your Raspberry Pi is running the latest firmware version.
This guidance is also crucial for those who want to utilize the PCIe features on Raspberry Pi 5 and wish to boot from their NVMe drive. At the time this article was written, the Raspberry Pi Bootloader (Version: 30de0ba5 – 2024/01/5) enabled users to boot from the NVMe drive via the PCIe without the need to modify the setting on the Raspberry Pi EEPROM thus simplifying the process.
Prerequisites:
- A Raspberry Pi board
- A microSD card.
- A computer with an SD card reader
- Raspberry Pi Imager (Version 1.8.4)
- Stable internet connection
Steps:
Step 1: Download and Install Raspberry Pi Imager
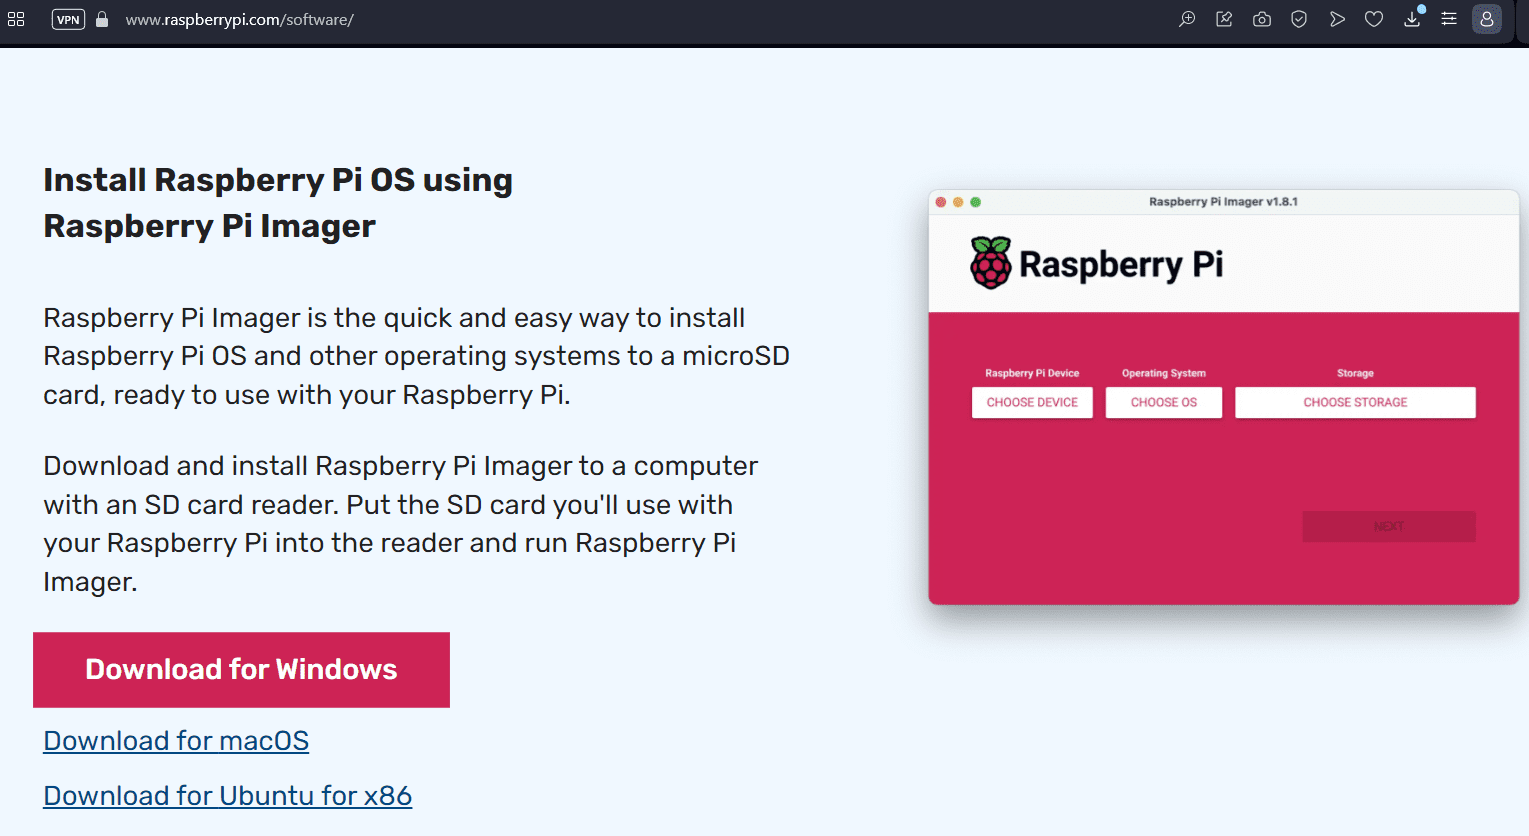
Visit the official Raspberry Pi website to download the Raspberry Pi Imager. Follow the installation instructions to set up the Imager on your computer.
Step 2: Insert MicroSD Card
Insert the microSD card into the SD card reader.
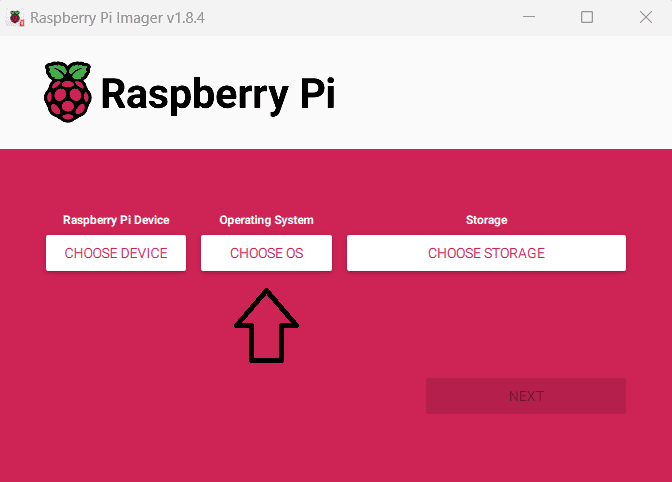
Step 3: Open Raspberry Pi Imager
Launch the Raspberry Pi Imager on your computer and click on "CHOOSE OS".
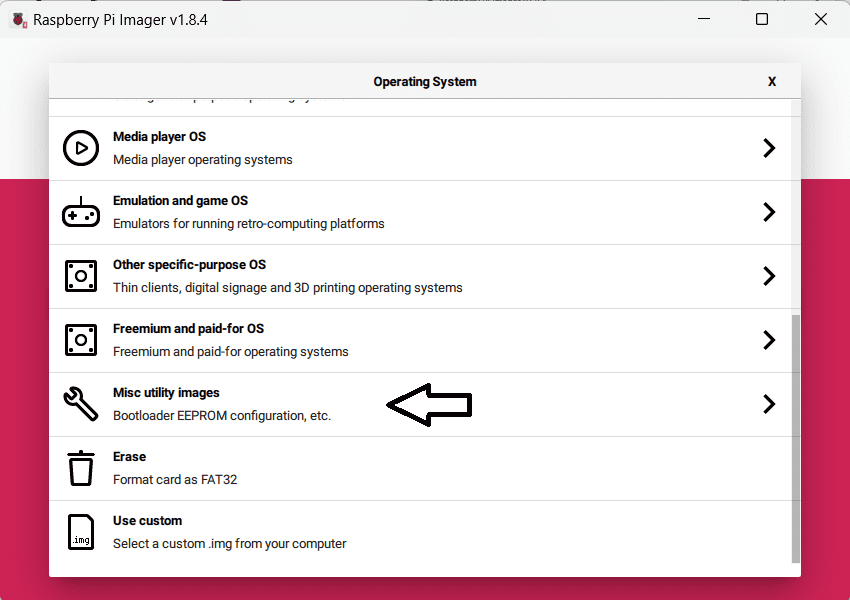
Step 4: Choose Operating System
Scroll down and choose “Misc utility images”.
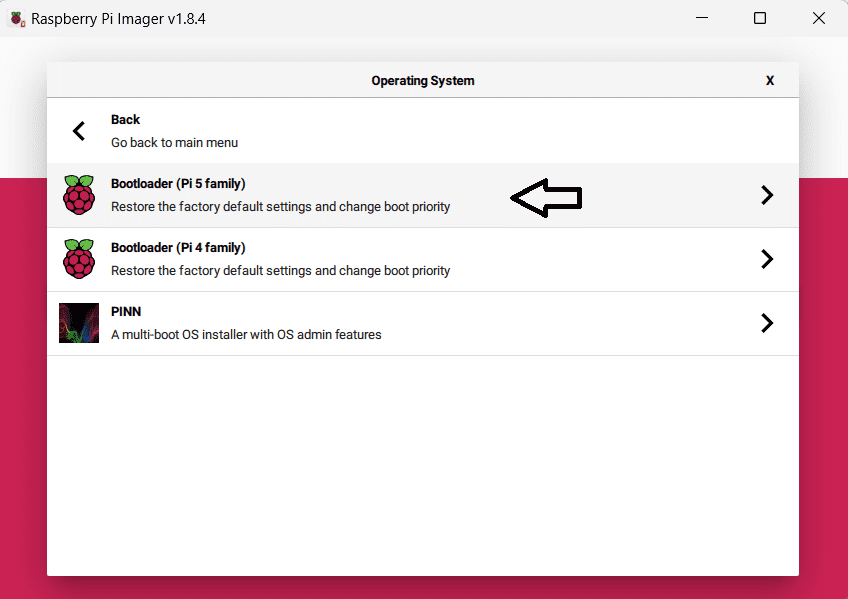
Step 5: Select Board Bootloader
Select your specific board bootloader from the list.
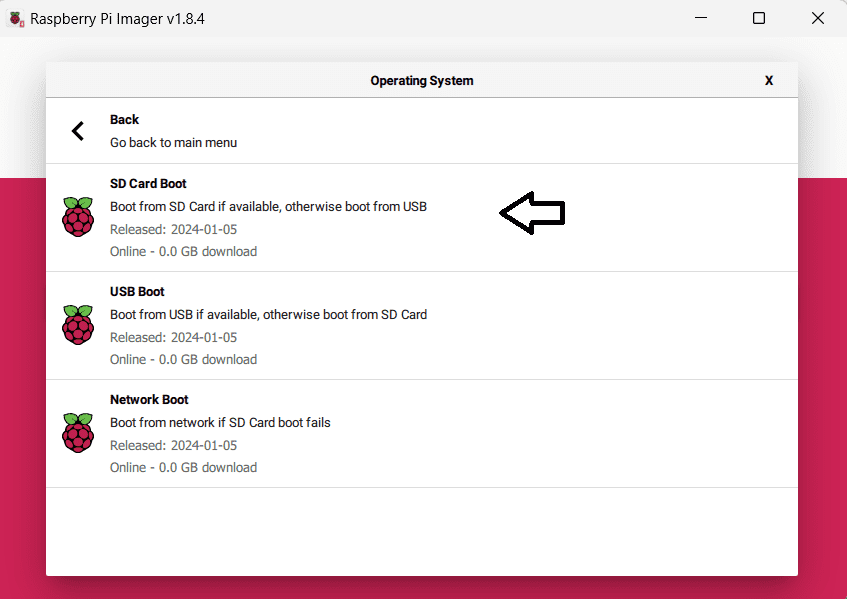
Step 6: Choose boot order.
Select “SD Card Boot”.
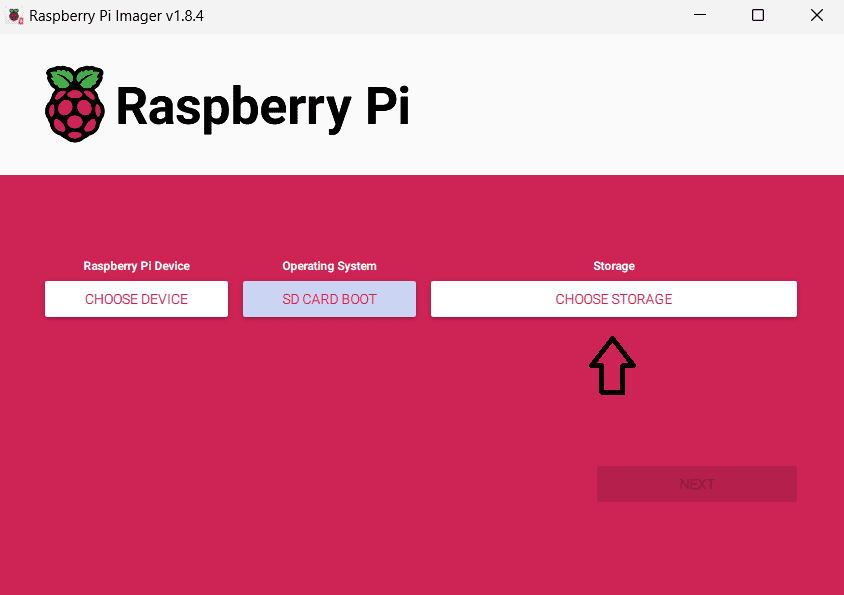
Step 7: Choose Storage
Select your SD Card storage.

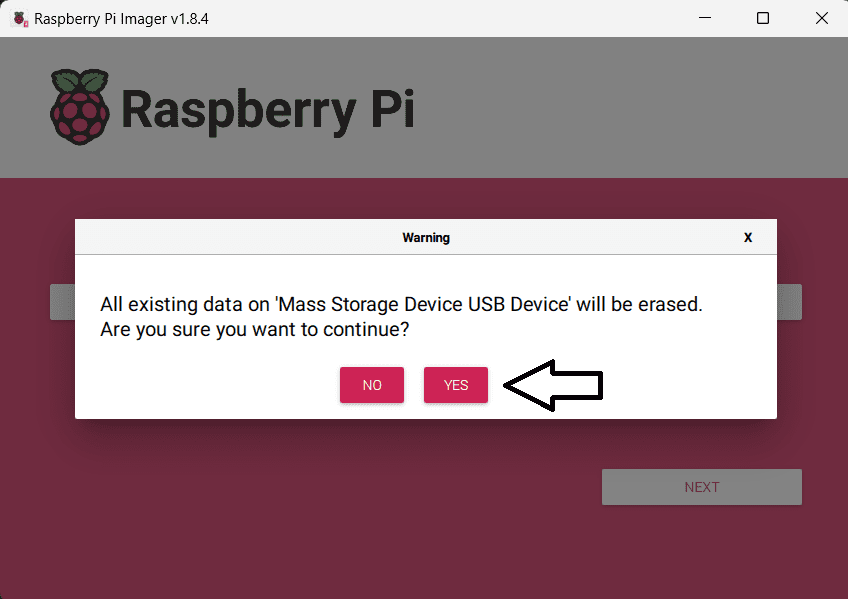
Step 8: Flash the firmware
Click on "NEXT" and approve the prompt by selecting "YES."

Step 9: Flashing
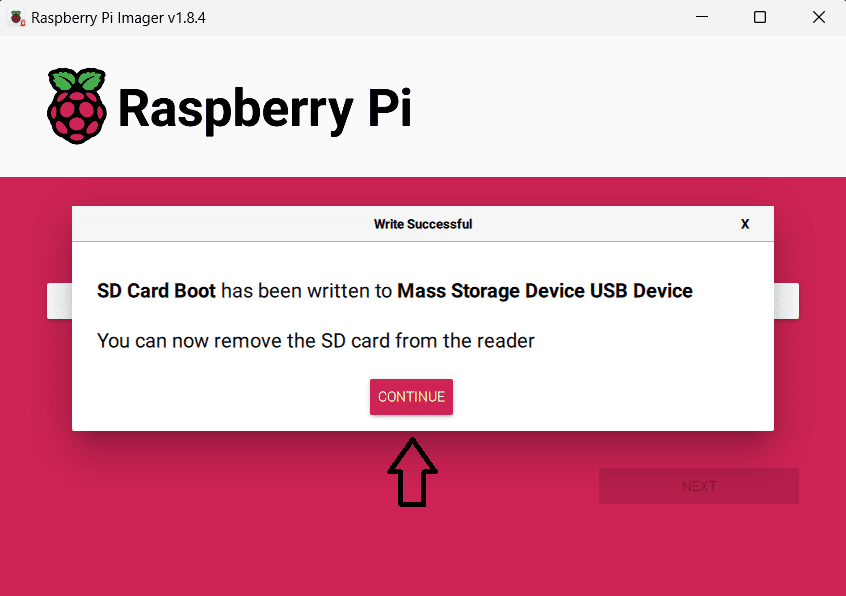
The writing process will only take a few minutes at most. Once it completes, you will see a message like as shown below.
This indicates that the Raspberry Pi bootloader has been successfully written to the SD Card, and you can now remove it from your device.

Step 10: Insert the bootloader update SD card.
1. Power off the Raspberry Pi and remove all peripherals.
2. Insert the bootloader update SD card.

3. Power on the Raspberry Pi.
4. Wait at least 10 seconds.

*If successful, the green LED on the Raspberry Pi will blink rapidly forever. An unsuccessful update of the EEPROM is indicated by a different blinking pattern corresponding to the specific error.
*If an HDMI display is attached, then the screen will display green for success or red if a failure occurs.
Congratulations! You've successfully updated your Raspberry Pi firmware using the Raspberry Pi Imager. Periodically check for firmware updates to stay current with the latest enhancements. Continue to the next step if you want to use PCIe NVMe HAT for Raspberry Pi 5.
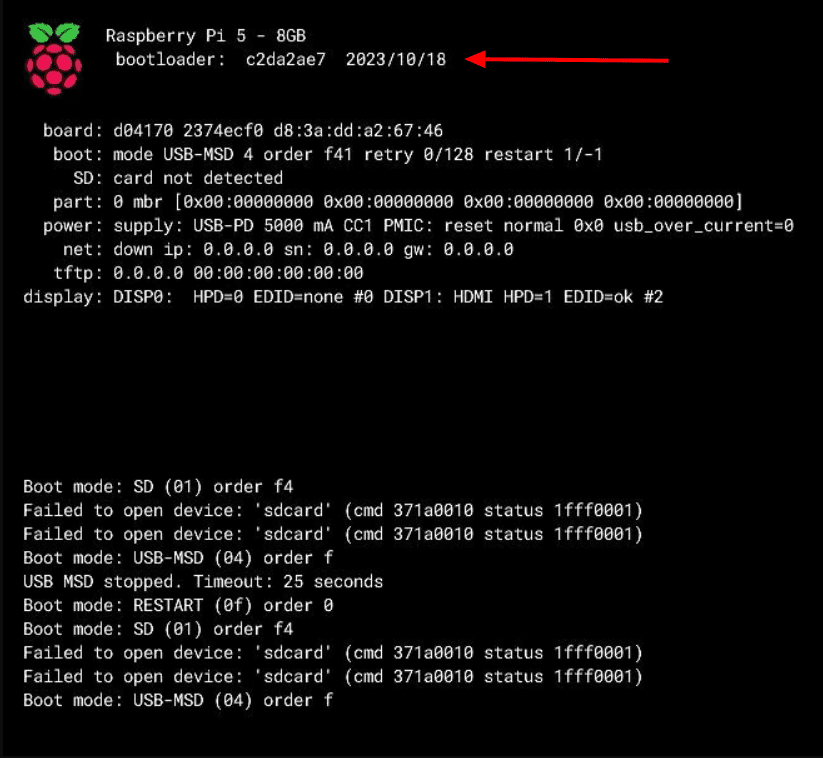
As indicated in the introduction, only Raspberry Pi bootloader versions from 30de0ba5 (released on 2024/01/5) and later are compatible with PCIe NVMe HAT. With the SD Card removed, figure below demonstrates that the earlier bootloader version c2da2ae7 (released on 2023/10/18) was unable to boot from the NVMe drive.
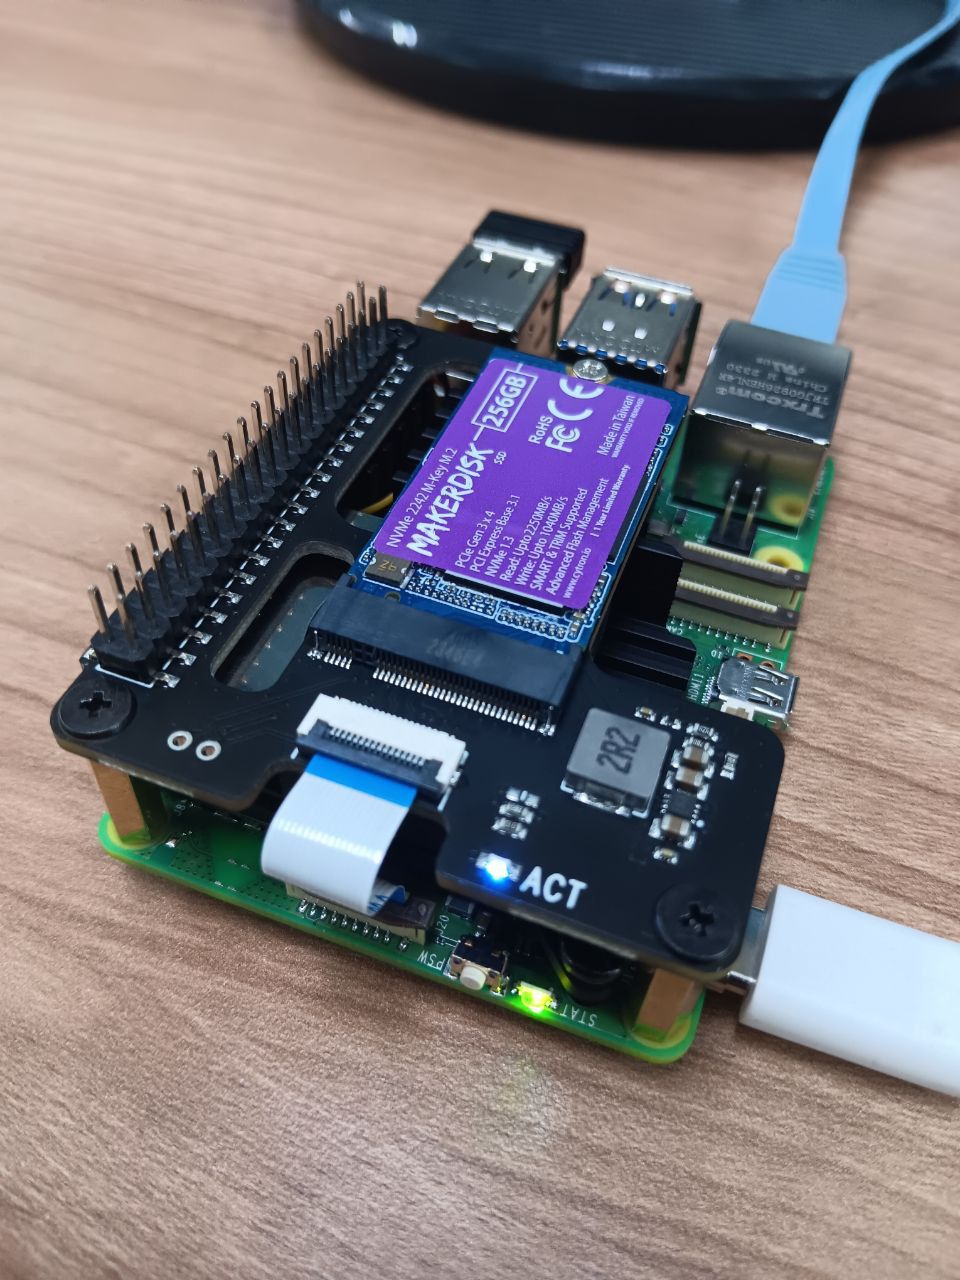
Step 11: Install NVMe HAT
Remove the SD Card and Install the Raspberry Pi 5 PCIe NVMe Hat with preinstalled Bookworm OS drive.
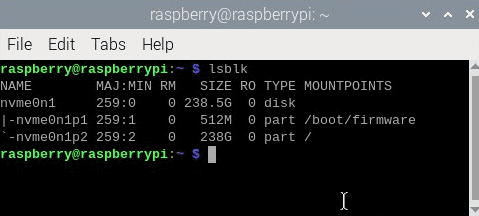
Step 12: Verify Update
After rebooting, open a terminal and enter the following command to verify the bootloader update:
vcgencmd bootloader_version

On the same terminal, enter the following command to verify if the NVMe is detected. The lsblk command is used in Linux to list information about block devices (e.g., hard drives, SSDs, partitions). When you run lsblk in the terminal, it provides a tree-like view of the block devices and their relationships.
lsblk
Troubleshooting Tips for Raspberry Pi 5 Not Booting from NVMe via PCIe

Despite following the guides, things can still go wrong. Therefore, to guarantee that the Raspberry Pi 5 boots successfully from the NVMe, an additional step is essential. This approach required booting from an SD Card or USB storage.
Go to terminal and paste the following command:
sudo rpi-eeprom-config --edit

In the BOOT_ORDER section, make sure that the value "6" is present. The BOOT_ORDER property specifies the order of various boot modes, read from right to left, and allows for up to eight digits to be set. In this scenario, "0xf461" indicates that the Raspberry Pi will initially boot from the SD Card (1), followed by NVMe (6), and ultimately USB (4).
Therefore, if the value "6" is missing from the BOOT_ORDER, simply add it to the BOOT_ORDER section. More information on boot order value can be found below.
| Value | Mode | Description |
|---|---|---|
| 0x0 | SD CARD DETECT MODE | Try SD then wait for card-detect to indicate that the card has changed. Deprecated now that 0xf (RESTART) is available. |
| 0x1 | SD CARD | SD card (or eMMC on Compute Module 4). |
| 0x2 | NETWORK | Network boot - See Network boot server tutorial. |
| 0x3 | RPIBOOT | RPIBOOT - See usbboot. |
| 0x4 | USB-MSD | USB mass storage boot - See USB mass storage boot. |
| 0x5 | BCM-USB-MSD | USB 2.0 boot from USB Type C socket (CM4: USB type A socket on CM4IO board). Not available on Raspberry Pi 5. |
| 0x6 | NVME | CM4 and Pi 5 only: boot from an NVMe SSD connected to the PCIe interface. See NVMe boot for more details. |
| 0x7 | HTTP | HTTP boot over ethernet. See HTTP boot for more details. |
| 0xe | STOP | Stop and display error pattern. A power cycle is required to exit this state. |
| 0xf | RESTART | Restart from the first boot-mode in the BOOT_ORDER field i.e. loop. |
PCIe VS USB 3.0 Speed Test
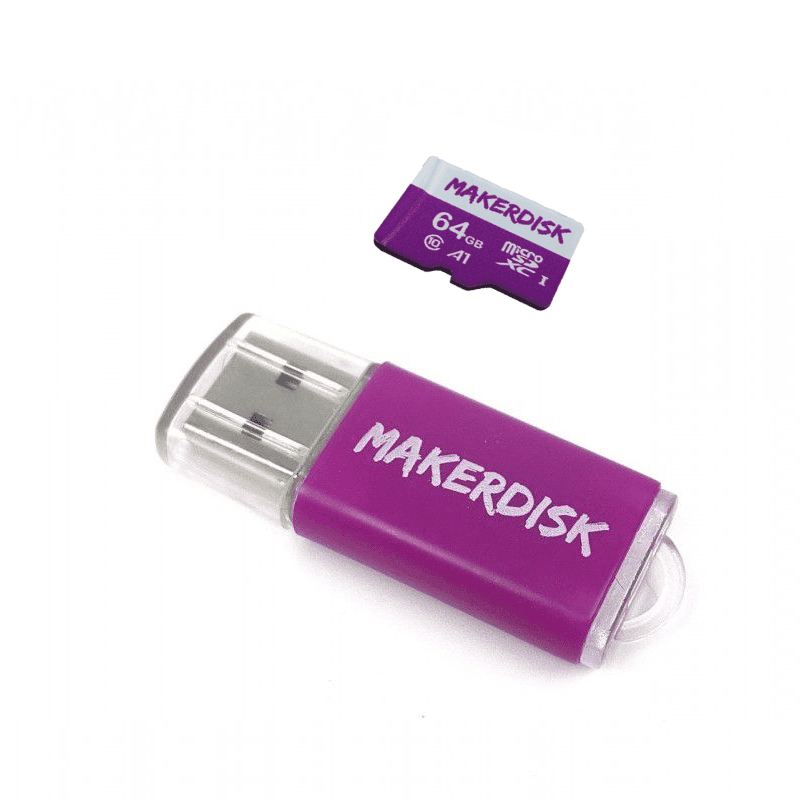
PCIe Boot: Cytron NVMe 2280 M-Key MakerDisk SSD 256GB

USB 3.0 Boot: Cytron NVMe 2280 M-Key MakerDisk SSD 256GB
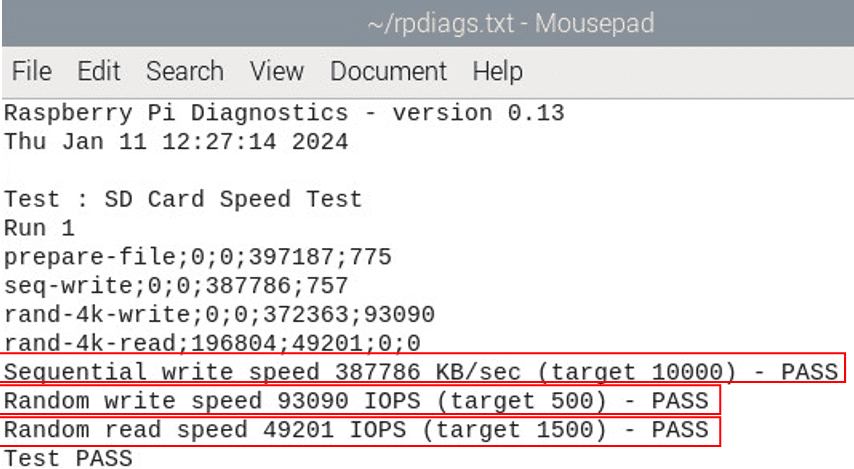
In summary, when comparing the performance of booting from NVMe storage on a Raspberry Pi, both PCIe and USB 3.0 connections were examined using the same NVMe drive. The speed tests revealed that PCIe demonstrated superior performance over USB 3.0, showcasing faster sequential write speeds.
Therefore, for users seeking optimal speed and performance, particularly in scenarios with demanding applications and data-intensive tasks, utilizing the PCIe interface with an NVMe drive is recommended. The choice between PCIe and USB 3.0 should be based on the specific performance requirements of the project, as well as considerations for storage capacity and budget constraints.
Hardware Components

USB2.0 Cytron microSD Card Reader/Writer
$1.00 $1.00
x 1 unit(s)

Raspberry Pi Approved MakerDisk microSD Card wi...
$11.00++ $11.00
x 1 unit(s)
 Best Seller
Raspberry Pi 5 Single Board Computer
$66.00++ $66.00
x 1 unit(s)
") Best Seller
Best SellerNVMe 2242 M-Key MakerDisk SSD (Preloaded with R...
$36.25++ $36.25
x 1 unit(s)
 New
NewPCIe Hat for Raspberry Pi 5 with MakerDisk NVMe...
$19.75++ $19.75
x 1 unit(s)
 New
NewArgon ONE V3 M.2 NVMe PCIe Case for RPi 5
$23.75++ $23.75
x 1 unit(s)
 New
NewArgon NEO 5 M.2 NVMe PCIe Case for Raspberry Pi 5
$22.25++ $22.25
x 1 unit(s)