 International
 Singapore
 Malaysia
 Thailand
 Vietnam
Your shopping cart is empty!

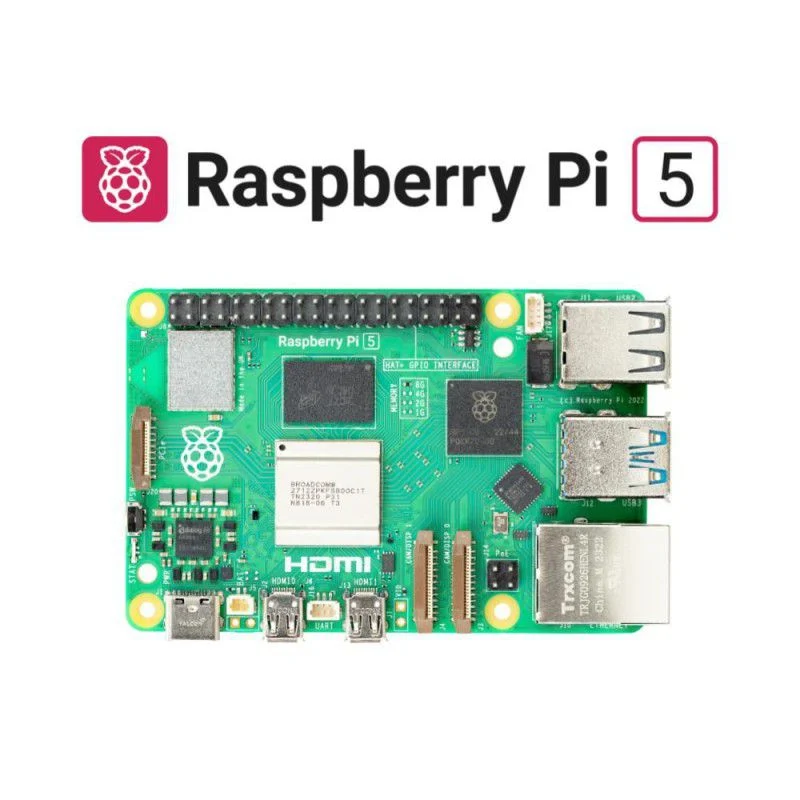
Getting Started With Raspbery PI 5 For Beginners
- Solehin Rizal
- 13 Sep 2024
- Tutorial
- Intermediate
- 146
Introduction
Before that , did you know what is Raspberry Pi ?
Raspberry Pi is a single-board computer developed by the Raspberry Pi Foundation in the UK to promote the teaching of basic computer science in schools and developing countries. Raspberry Pi has become a very reliable microcomputer even outside of the education field. Science and engineering, IT, and even industries have been using Raspberry Pi in their system, in conjunction with IR4.0.
Video Tutorial
Unboxing and Overview
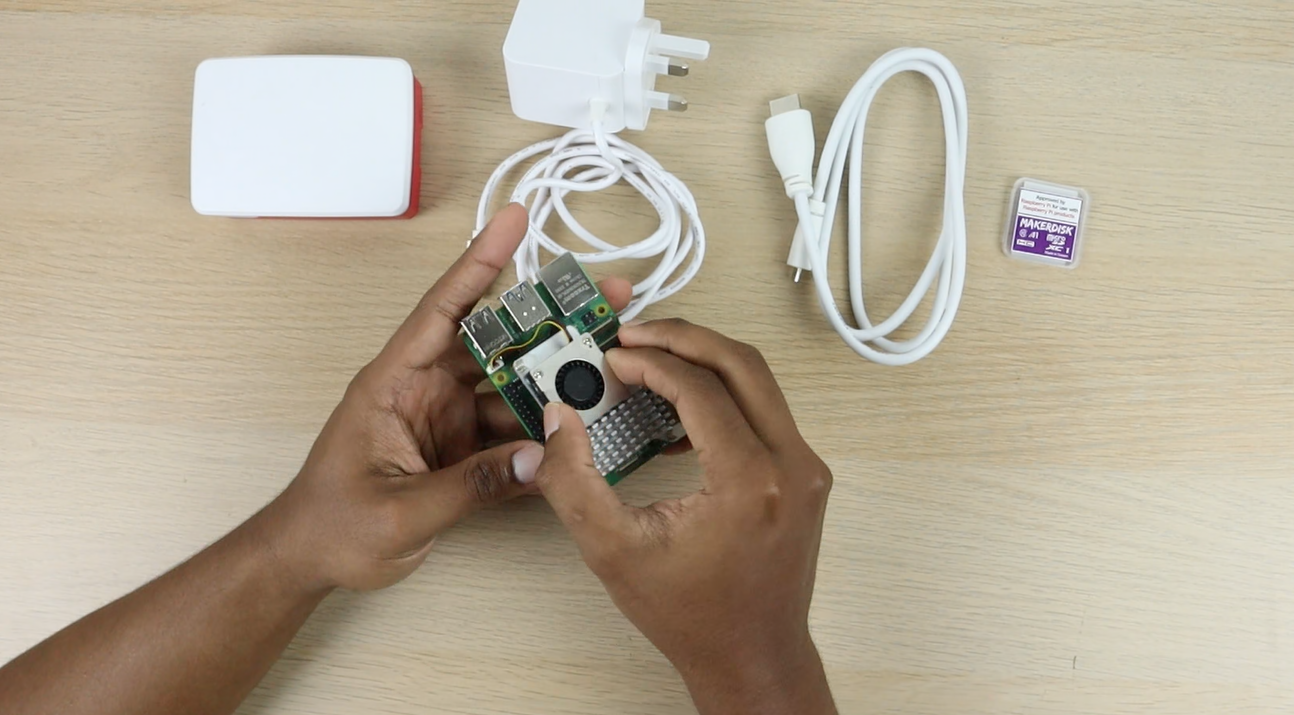
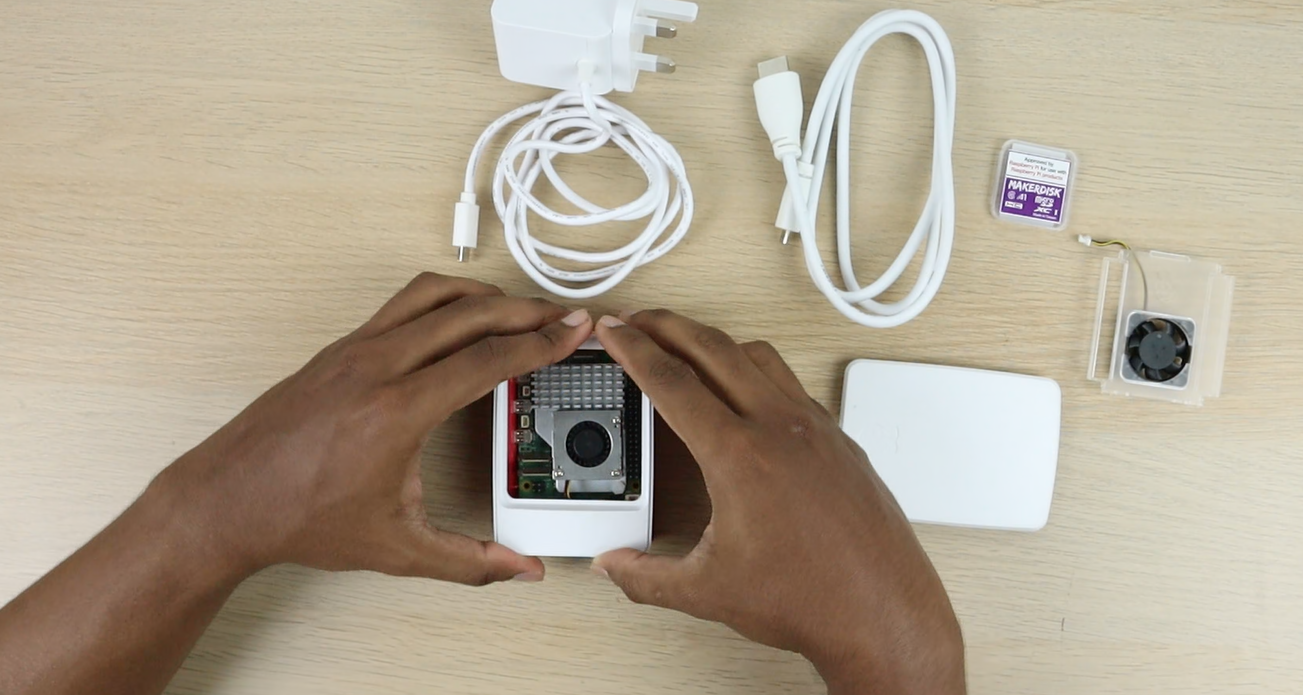
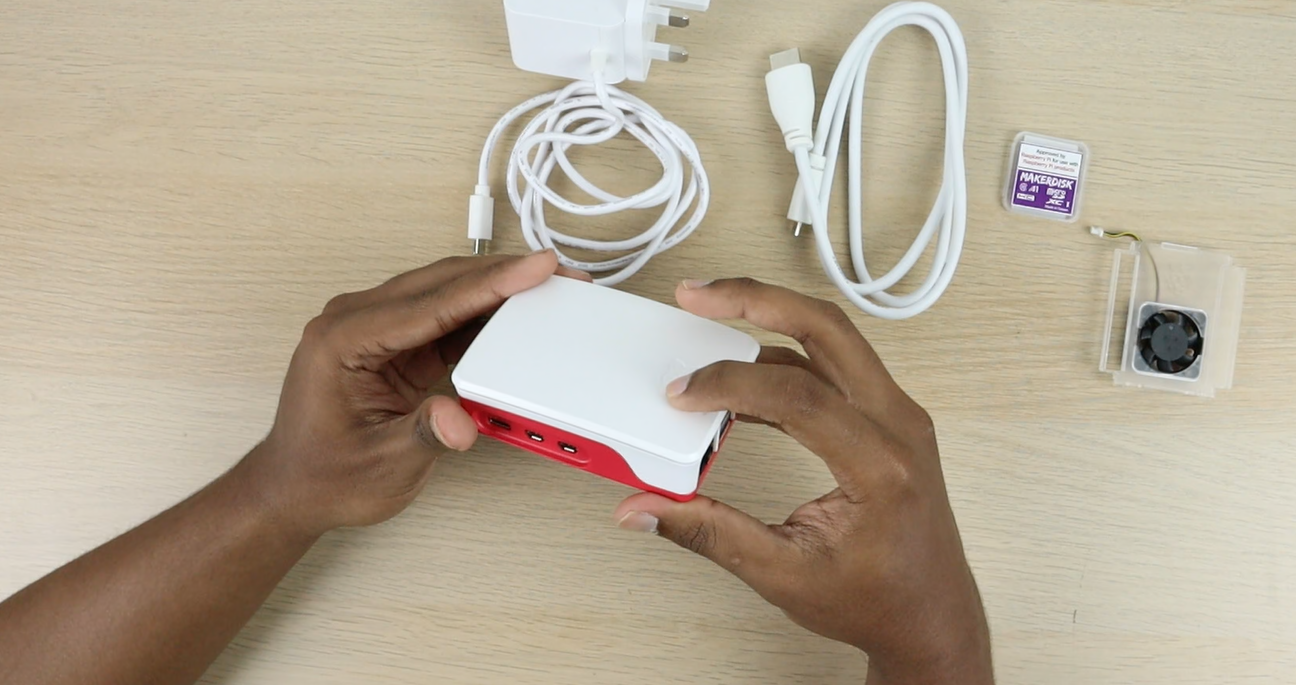
1. Unboxing the Raspberry Pi 5 Kit
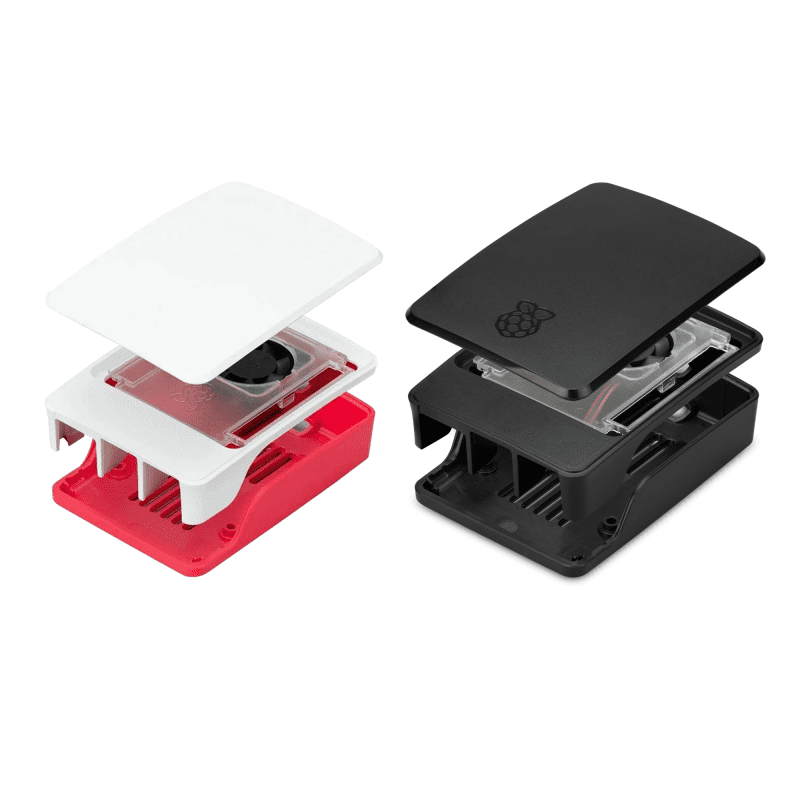
Official Case : While not required, it’s a good idea to use it to protect your Pi 5 from accidental drops or damage.
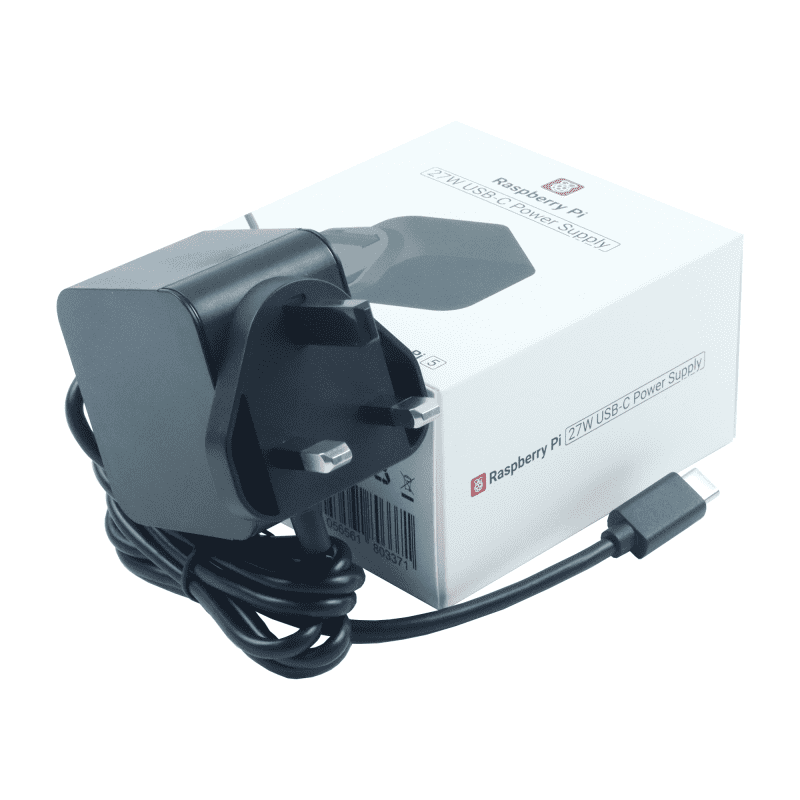
Power Supply : The 27W USB-C power supply is specifically designed for the Pi 5. Though the Pi 4 power supply might work, the Pi 5 power supply provides the necessary extra wattage.
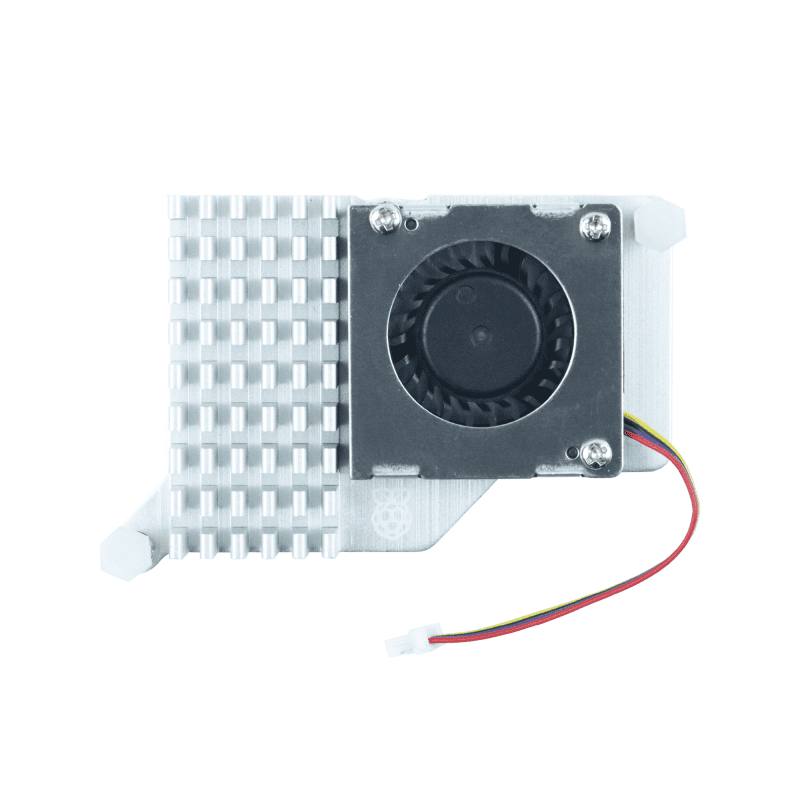
Active Cooler :Essential for preventing thermal throttling. If the Pi gets too hot, it will slow down, making proper cooling important.
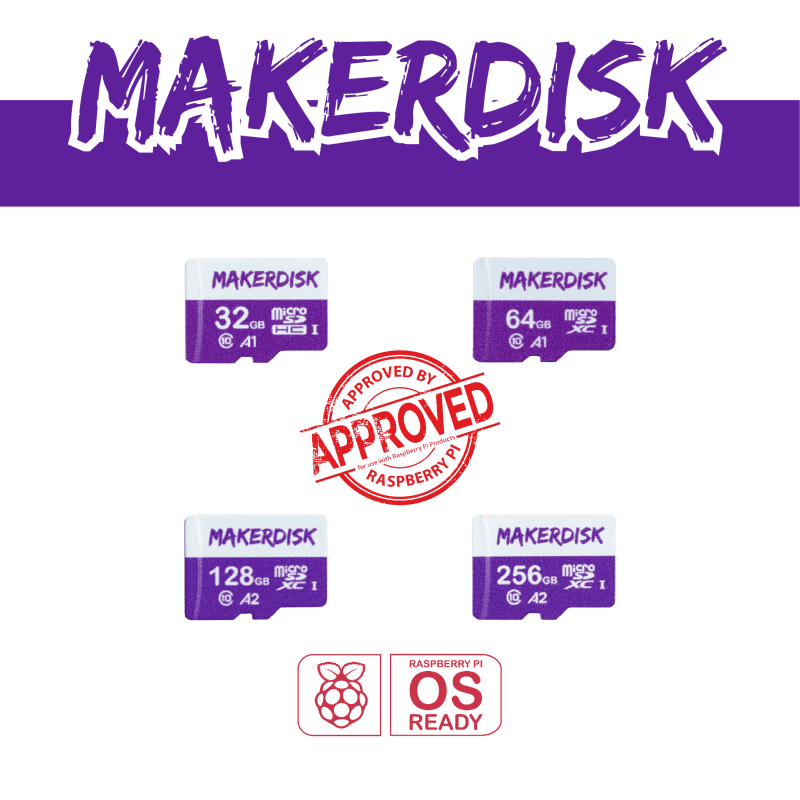
HDMI Cable and MakerDisk SD Card : The HDMI cable connects to micro HDMI ports, and the MakerDisk microSD card ensures good performance.
Note: MakerDisk SD Card comes with the OS preloaded.

Processor:
Broadcom BCM2712
64-bit ARM Cortex-A76 (ARMv8-A ISA)
Quad-core
16nm Processor SoC
Clocked @ 2.4GHz
64KB I and D caches
512KB pre-core L2 caches and a 2MB shared L3 cache
With a metal body for better heat dissipation
SDRAM:
LPDDR4X-4267
8GB ,4GB and 2GB variants are available at the announcement
and maintaining its small credit card size form factor.
Raspberry Pi 5 Main Features
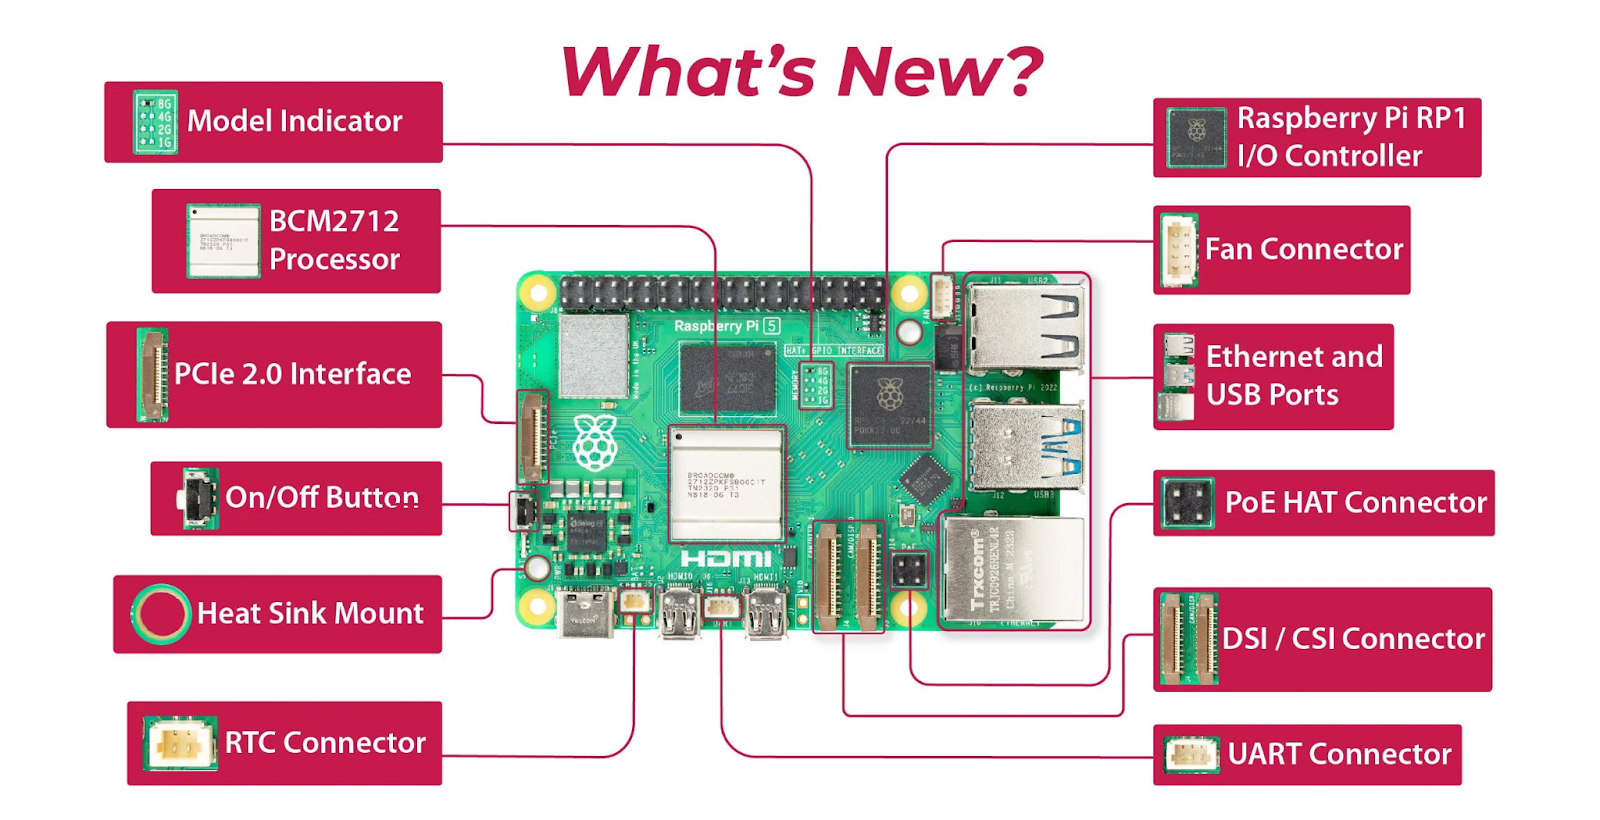
1. SD Card Port: Remains in the same location at the bottom of the board.
2. Gigabit Ethernet Port: Located on the left side, a move from the Pi 4’s position on the far right.
3. USB 3.0 Ports: Two ports in the middle, offering speeds up to 5 gigabits per second simultaneously, allowing for faster data transfer.
4. USB 2.0 Ports: Two ports on the far right, ideal for connecting peripherals like a keyboard and mouse.
5. Fan Connector : For connecting the active cooler to prevent overheating.
6. MIPI DSI and CSI Ports: Two ports for additional displays and cameras.
7. Micro HDMI Ports : Two ports supporting 720p, 1080p, and 4K resolutions.
8. USB-C Port : For power supply connection.
9. 40 GPIO Pins: For connecting various accessories and HATs.
10. PCIe Express Port: A 16-pin 0.5mm FFC connector replaces the DSI port on Raspberry Pi 5, extending the single-lane PICe Gen 2 bus. It supports high-speed devices such as NVMe SSD, Network Card, or Graphic card. Allows connection for HATs and M.2 devices. Check out the official M.2 HAT+ from Raspberry Pi.
11. Heat Sink Mount: Provides a place to attach a heat sink for better cooling.
12. RTC Connector: Connects a Real-Time Clock module for timekeeping even when the device is powered off.
13. UART Connector: For communication with external devices via UART (Universal Asynchronous Receiver-Transmitter).
14. PoE HAT Connector: Supports Power over Ethernet (PoE) for powering the Raspberry Pi through the Ethernet cable.
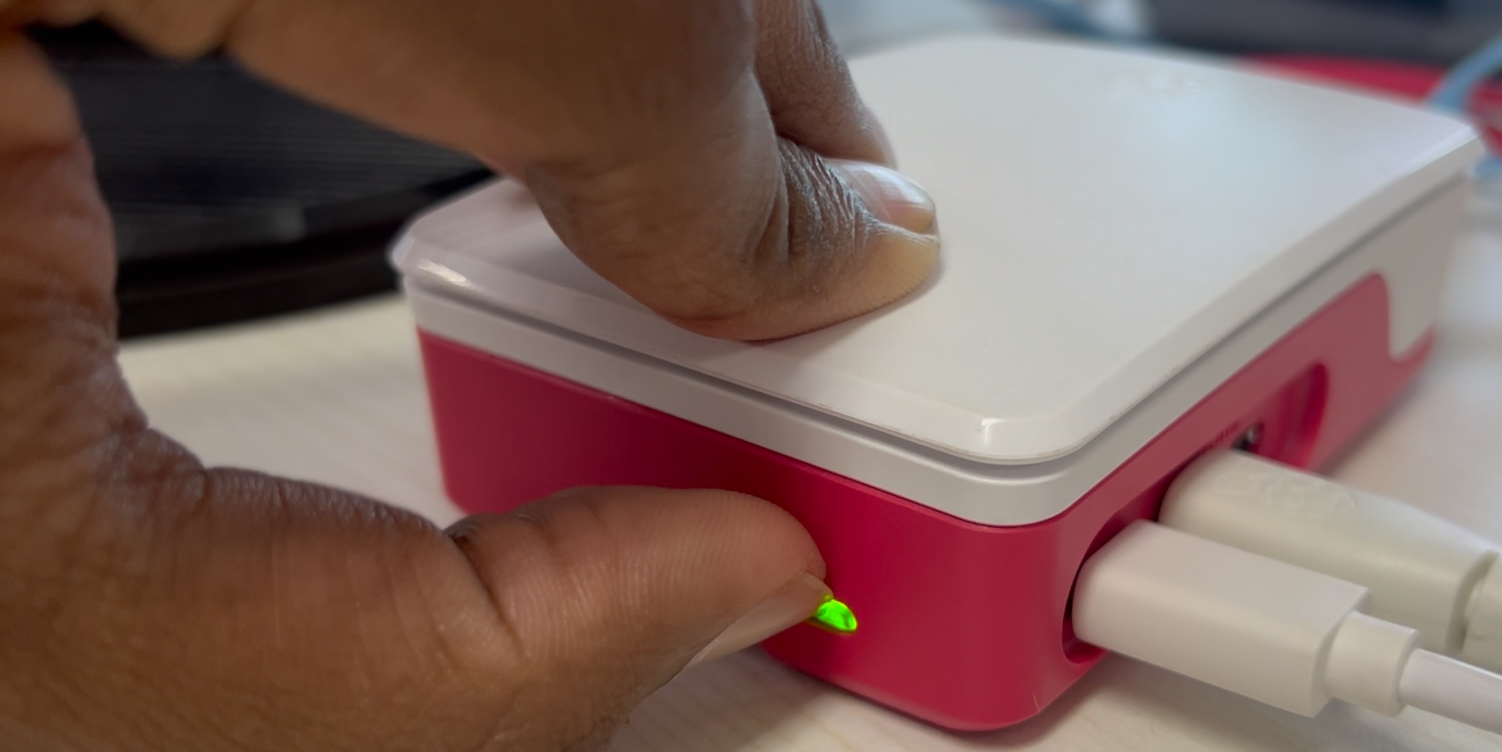
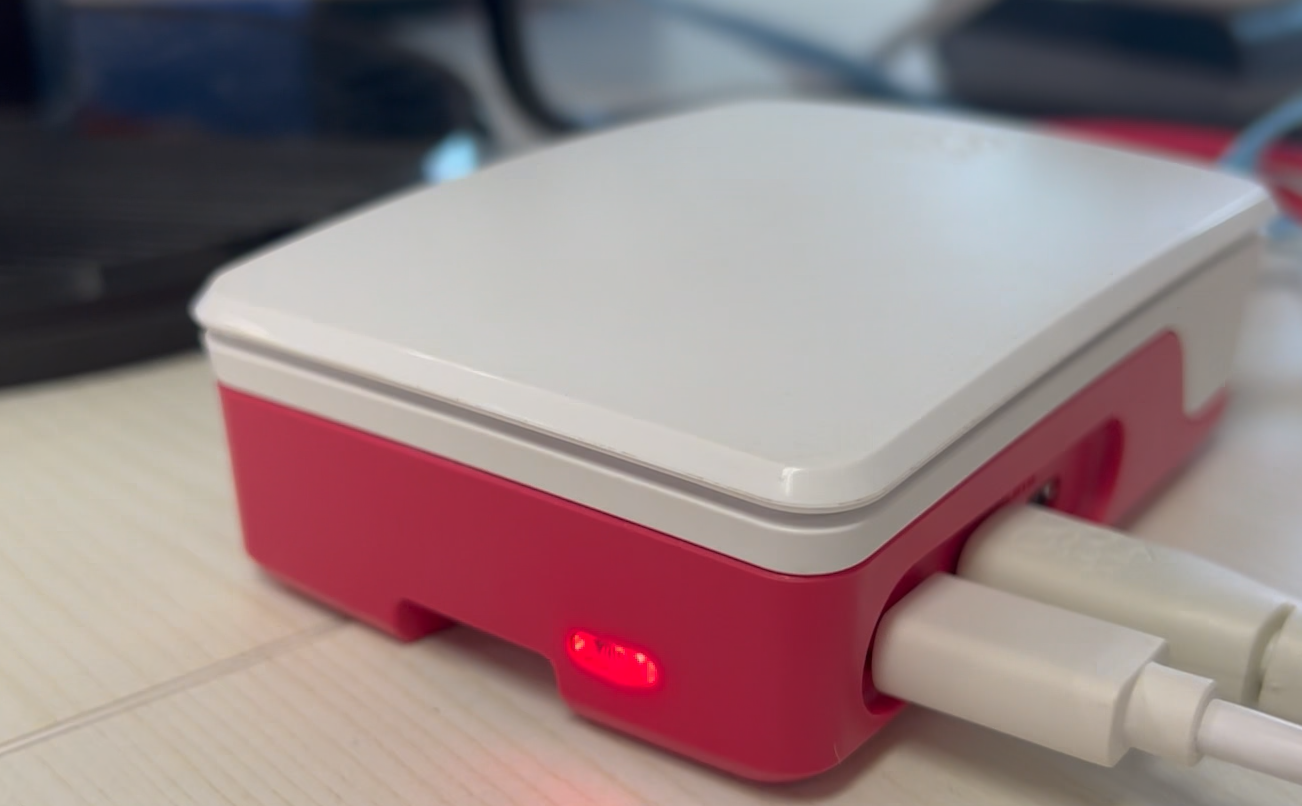
15. On/Off Button: A dedicated button to power the Raspberry Pi on and off, a new addition for convenience.
Hardware Setup
1. Installing the Active Cooler
- Attach the active cooler to the dedicated fan port, ensuring the thermal pad aligns properly.
2. Setting Up the Case
- Place the Pi 5 inside the case.
Note: The top case may not fit with the active cooler, so you might need to choose between using the case or the cooler. In this setup, we’ll use the active cooler.
3. Final Hardware Setup
- Ensure the Pi 5 is installed with the active cooler and the case.
Software Setup
Flashing the OS
1. Prepare the SD Card
- Using a microSD card reader , insert the SD card then plug into your computer.

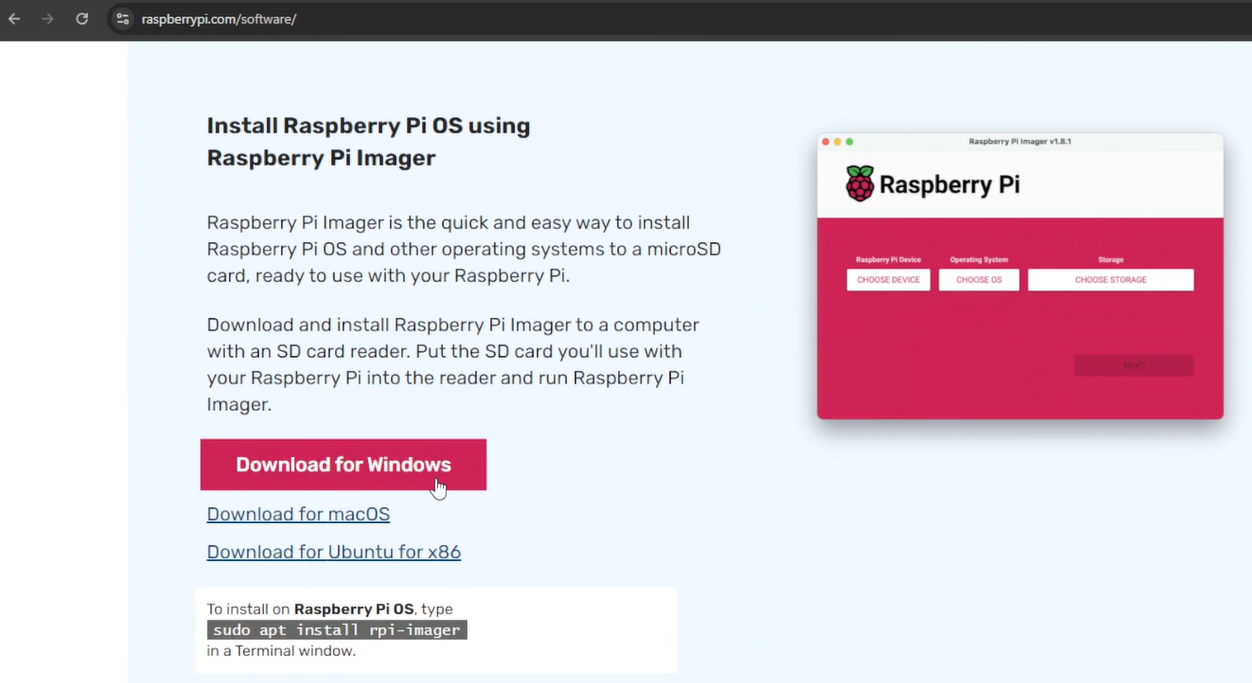
2. Download and Install Raspberry Pi Imager
- Open your browser and search for “Raspberry Pi Imager” .
- Download the software for your operating system. For this guide, we’ll use Windows.
3. Flashing the OS
- Open Raspberry Pi Imager. Choose the Raspberry Pi device and select “Raspberry Pi OS (64-bit)” as the operating system.
- Assign the storage device (your microSD card).
Note ! Disconnect other external storage devices to avoid selecting the wrong drive.
- Apply any OS customization settings if desired, then proceed.
- Eject the SD card once the flashing process is complete.

Startup and Initial Configuration
1. Booting Up
- Insert the SD card into the Raspberry Pi 5 and power it up.

2. Initial Setup
- Set your country, select your Wi-Fi network (or use a LAN cable), and choose your preferred network settings.
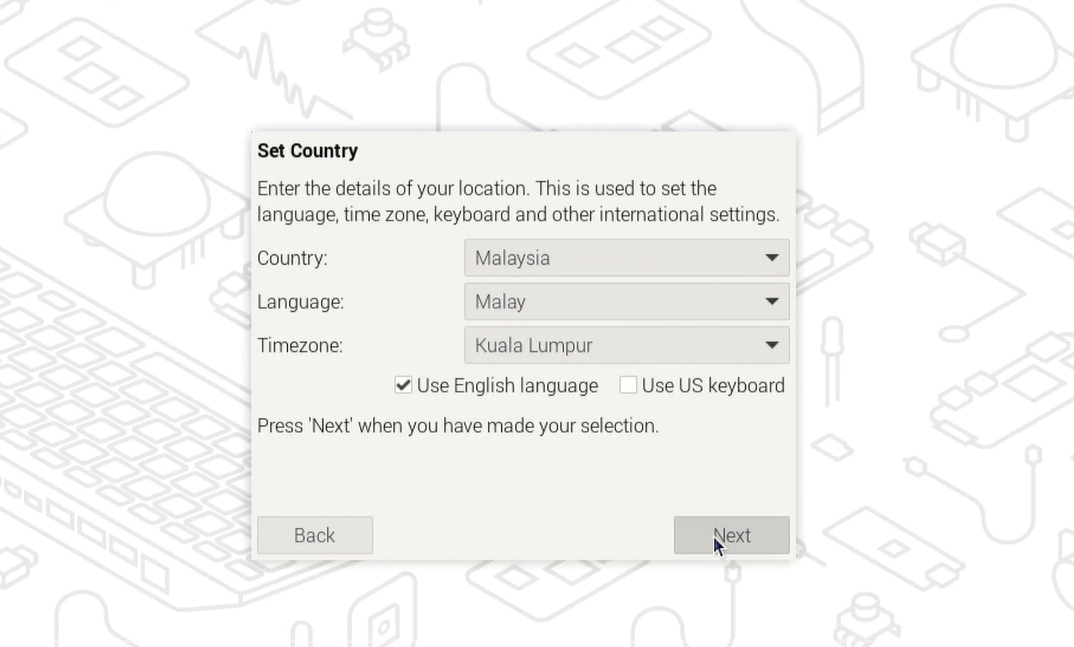
Set your country
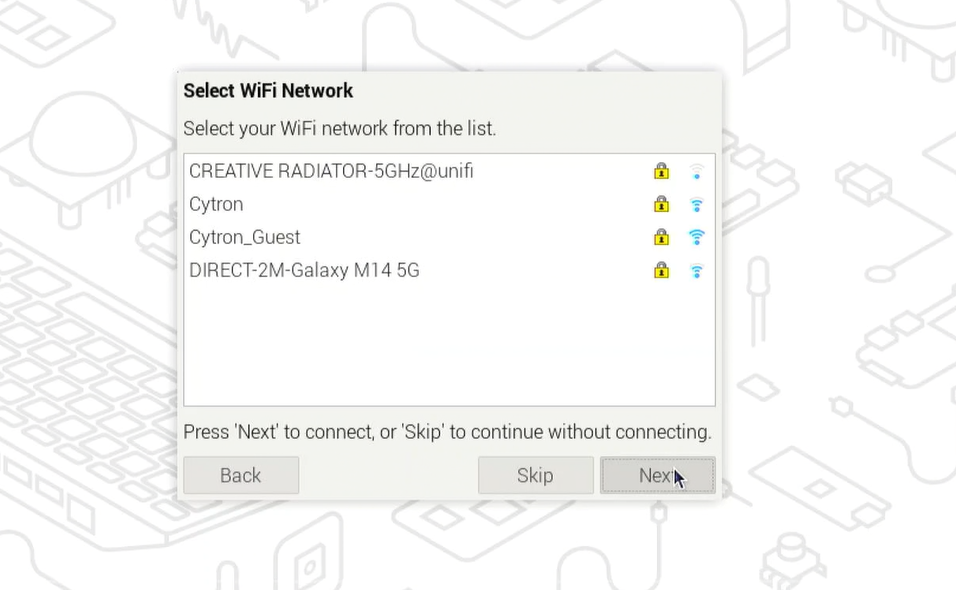
Set your wifi network
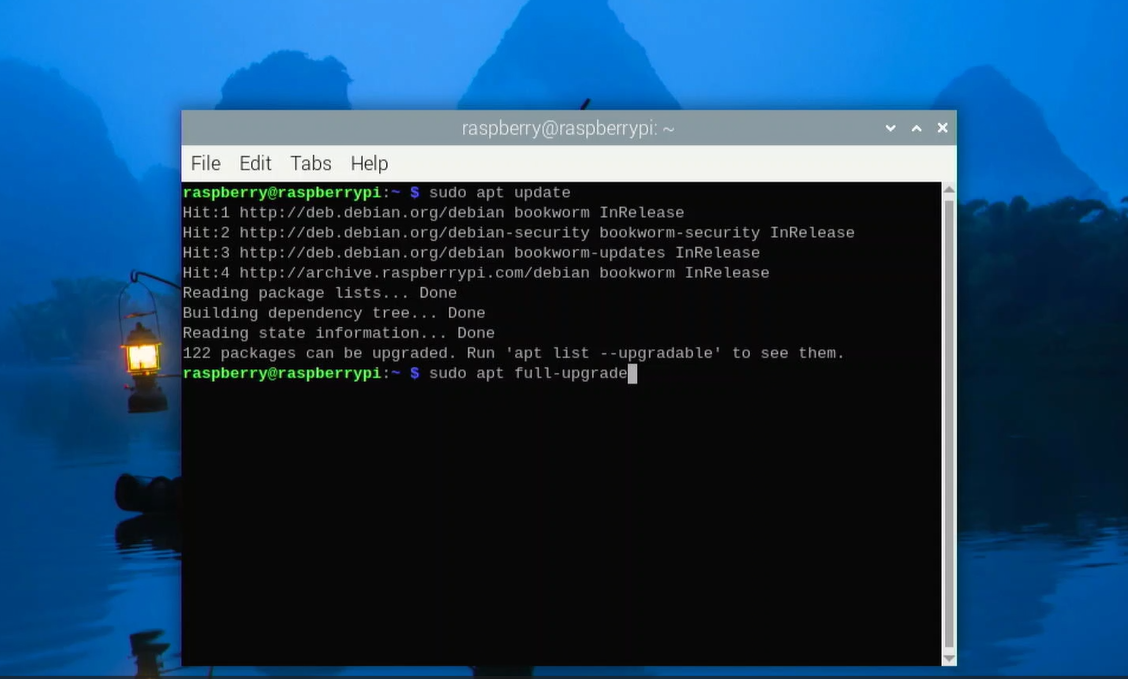
3. Software Update
- Updating software is Important. Open the Terminal and enter:
sudo apt update
sudo apt full-upgrade
sudo reboot
- This ensures that your system is up-to-date.
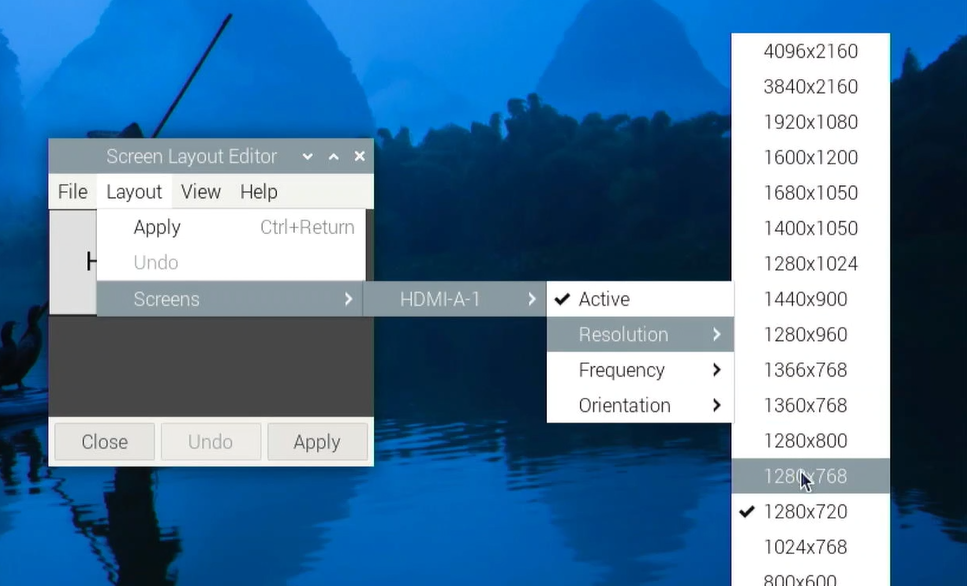
4. Change Screen Resolution
- Click the Raspberry icon, go to Preferences → Screen Configuration, select your display, and choose the preferred resolution (1080p or 4K).
5. Install Recommended Software
- In the recommended software section, Go to Preferences → Recommended Software.
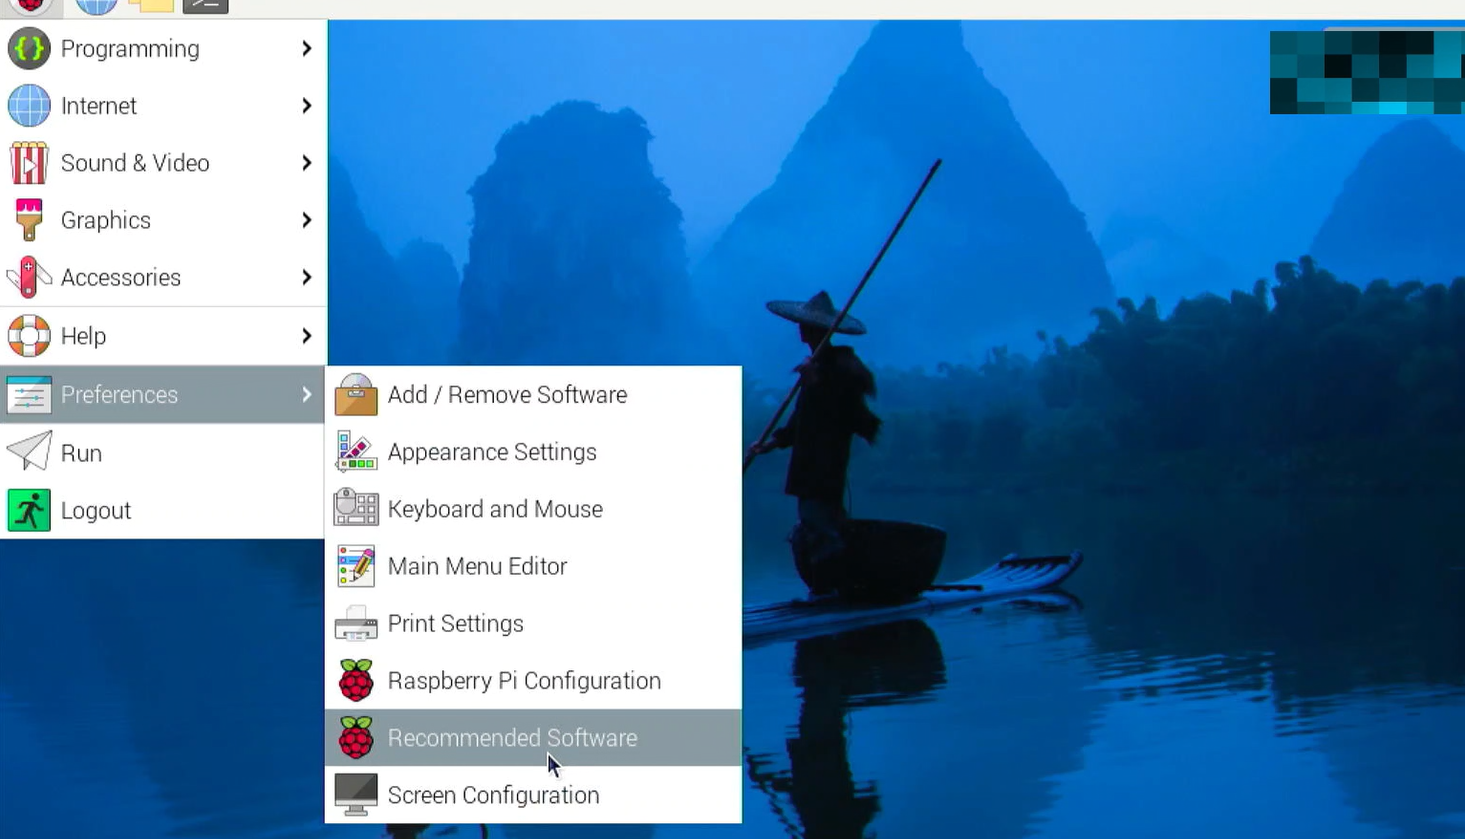
- choose the apps you want and click apply to install them automatically.
Quick Tips
1. Safe Shutdown Methods
- Double-press the power button.
- Press the power button once, then click the Shutdown button.

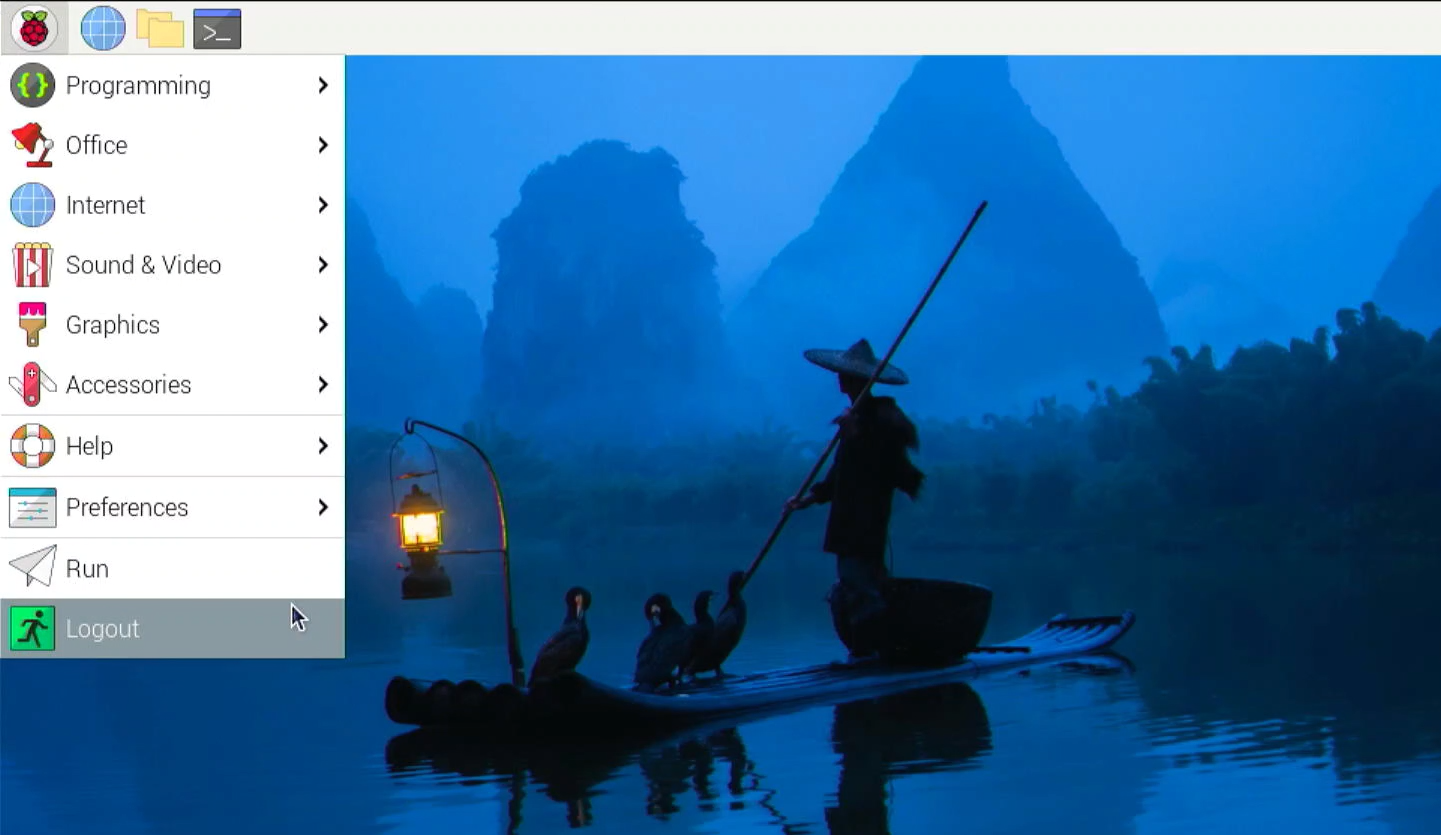
2. Normal Method
-Click the Raspberry icon, select Logout, then Shutdown.

3. Forced Shutdown
- Press and hold the power button for about 10 seconds (not recommended due to risk of file corruption).
Hardware Components

USB2.0 Cytron microSD Card Reader/Writer
$1.00 $1.00
x 1 unit(s)
 Best Seller
Raspberry Pi Approved MakerDisk microSD Card wi...
$11.00++ $11.00
x 1 unit(s)

Raspberry Pi 5 Heatsink and Active Cooler
$7.48 $7.48
x 1 unit(s)
 27W PSU") Best Seller
Best SellerOfficial Raspberry Pi 5 USB-C PD (Power Deliver...
$15.00 $15.00
x 1 unit(s)
 Best Seller
Raspberry Pi 5 Single Board Computer
$55.00++ $55.00
x 1 unit(s)

Official Raspberry Pi 5 Case
$11.00++ $11.00
x 1 unit(s)