 International
 Singapore
 Malaysia
 Thailand
 Vietnam
Your shopping cart is empty!
Car Speed Detection Simulation System Using EDU PICO
- Justin Eng
- 09 Jul 2024
- Tutorial
- Beginner
- 196
👉In this project, you will learn how to create a car speed detection simulation system using an Edu Pico with proximity sensor and other electronic components. By the end of this project, you will understand how to use an Edu Pico to measure and display the speed of a car model.
Hardware Required:
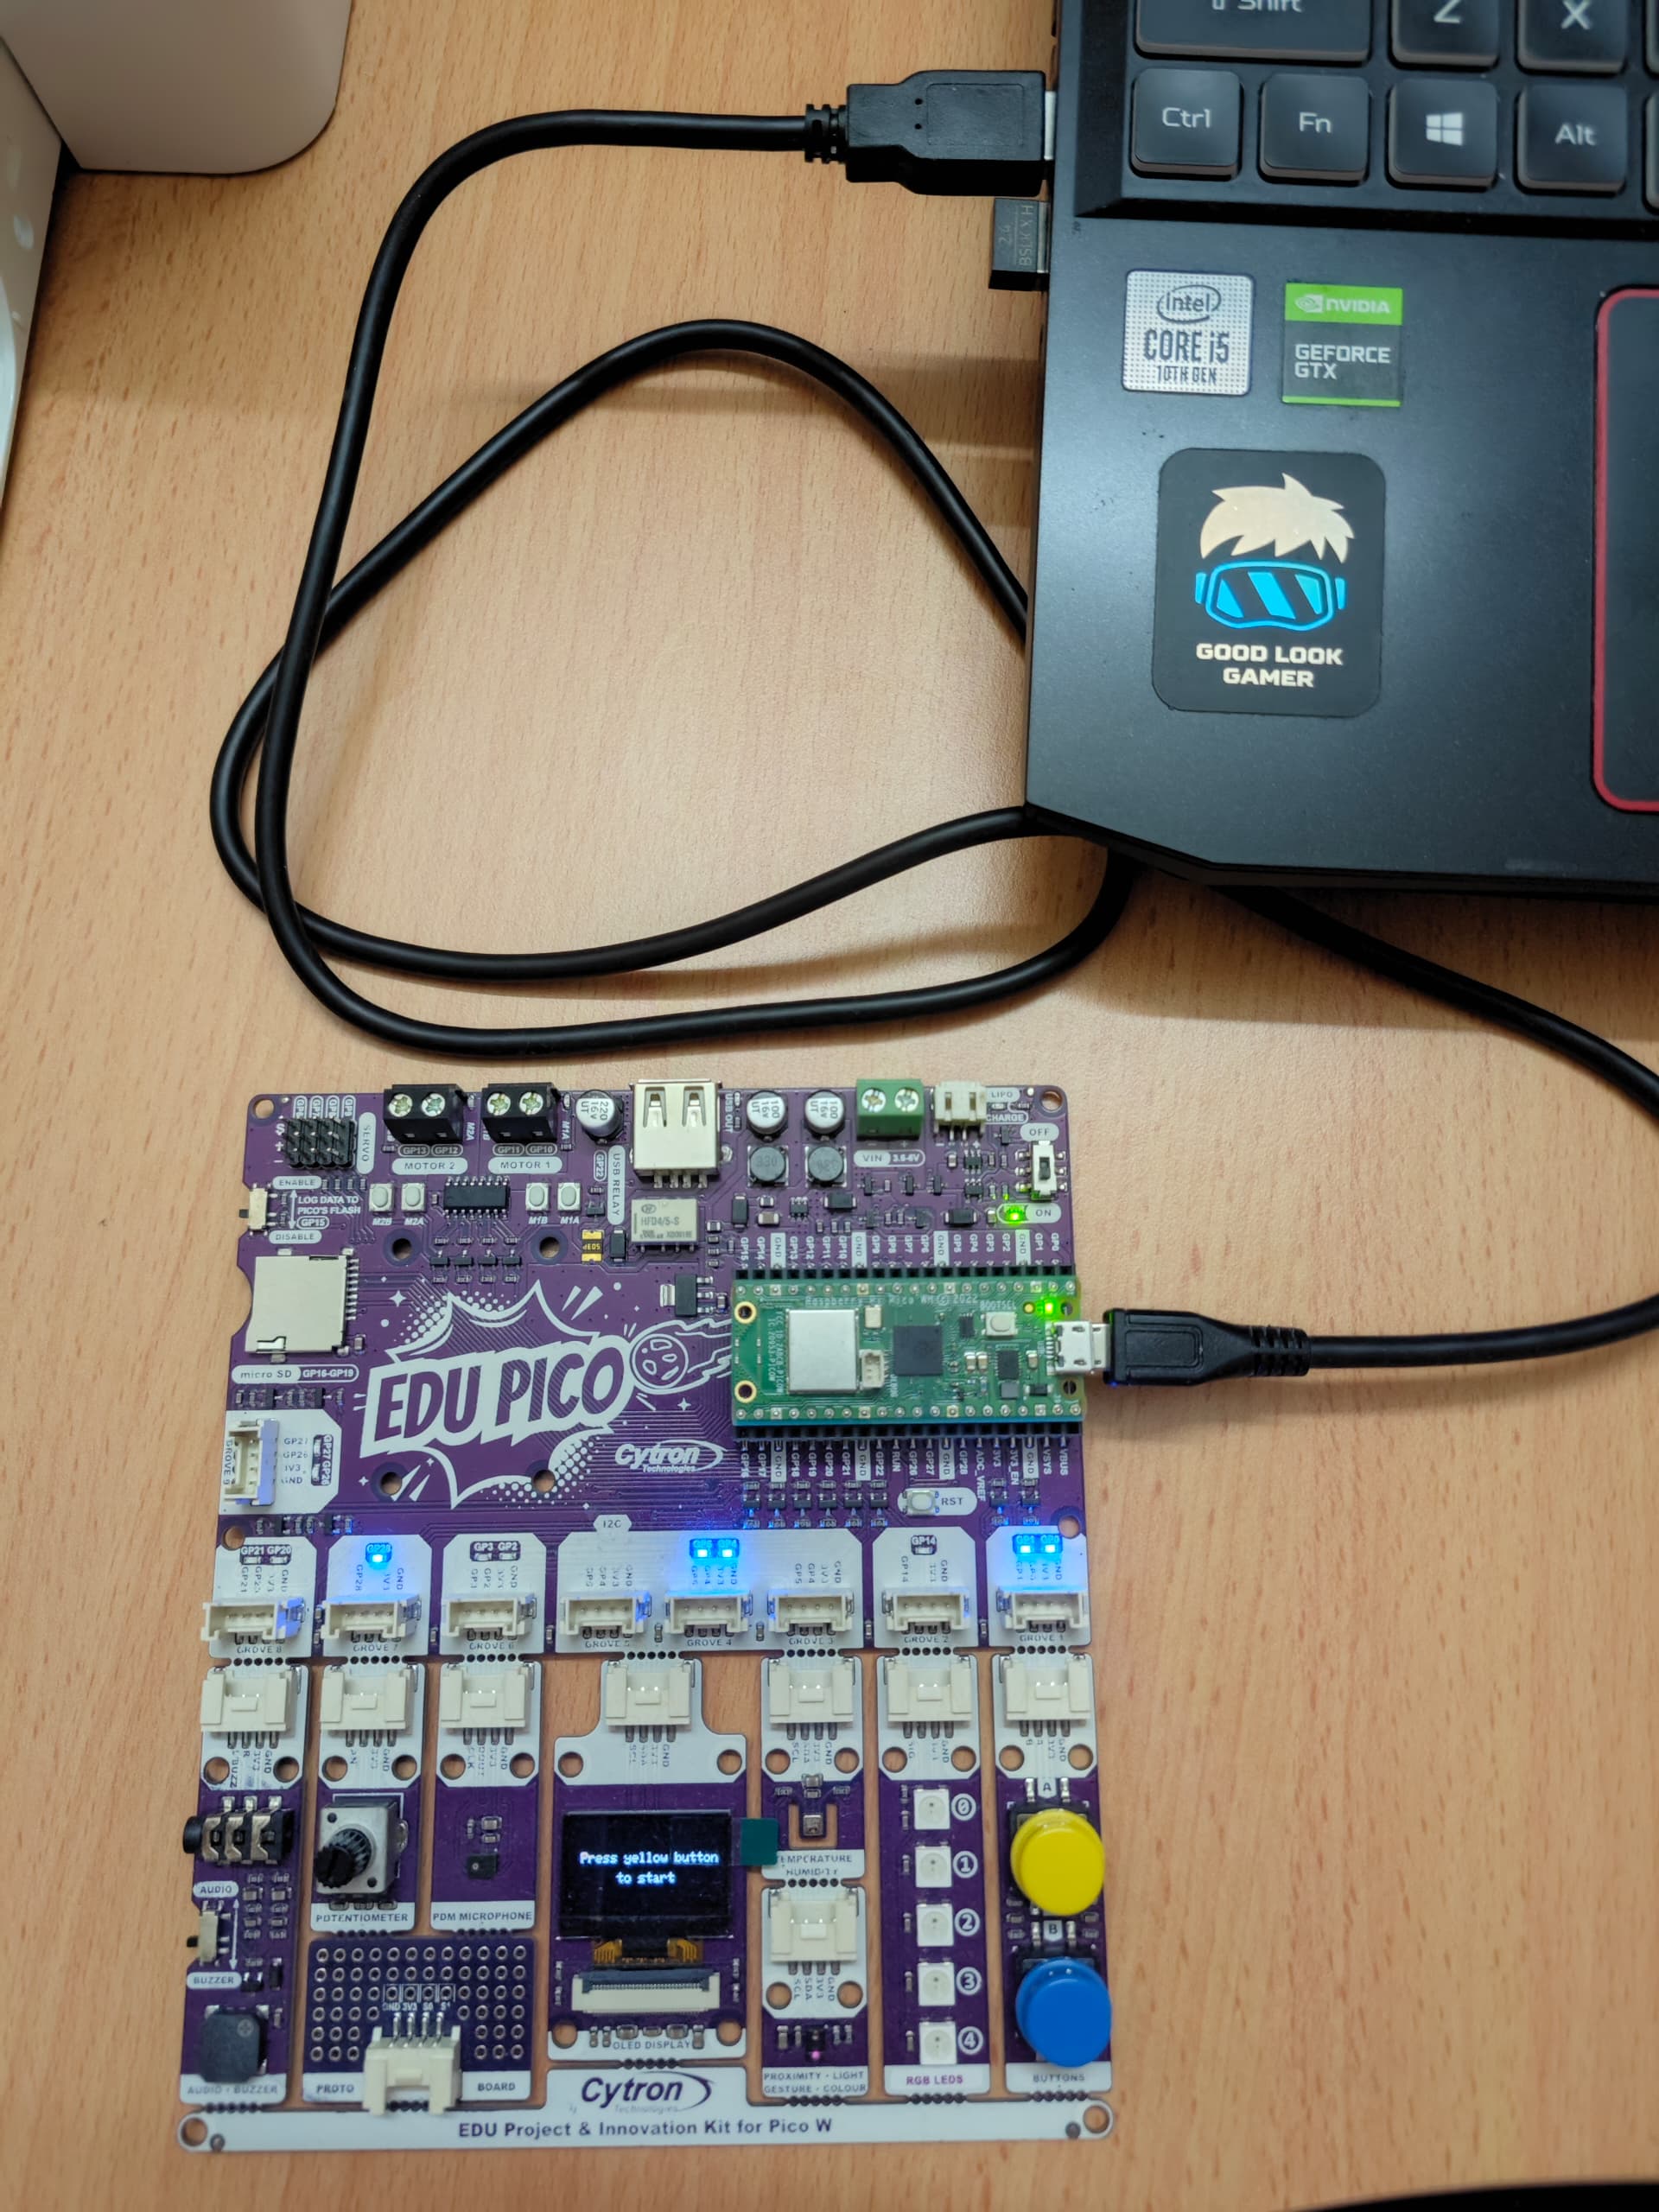
- EDU PICO
- USB Micro B Cable
- Die-cast Car Model
Electric components to be used using EDU PICO:
- OLED display
- Buzzer
- RGB LED
- Buttons
- Proximity sensor
Let’s Start !! 😉
Step 1: Connect the EDU PICO boards to your computer/ laptop.
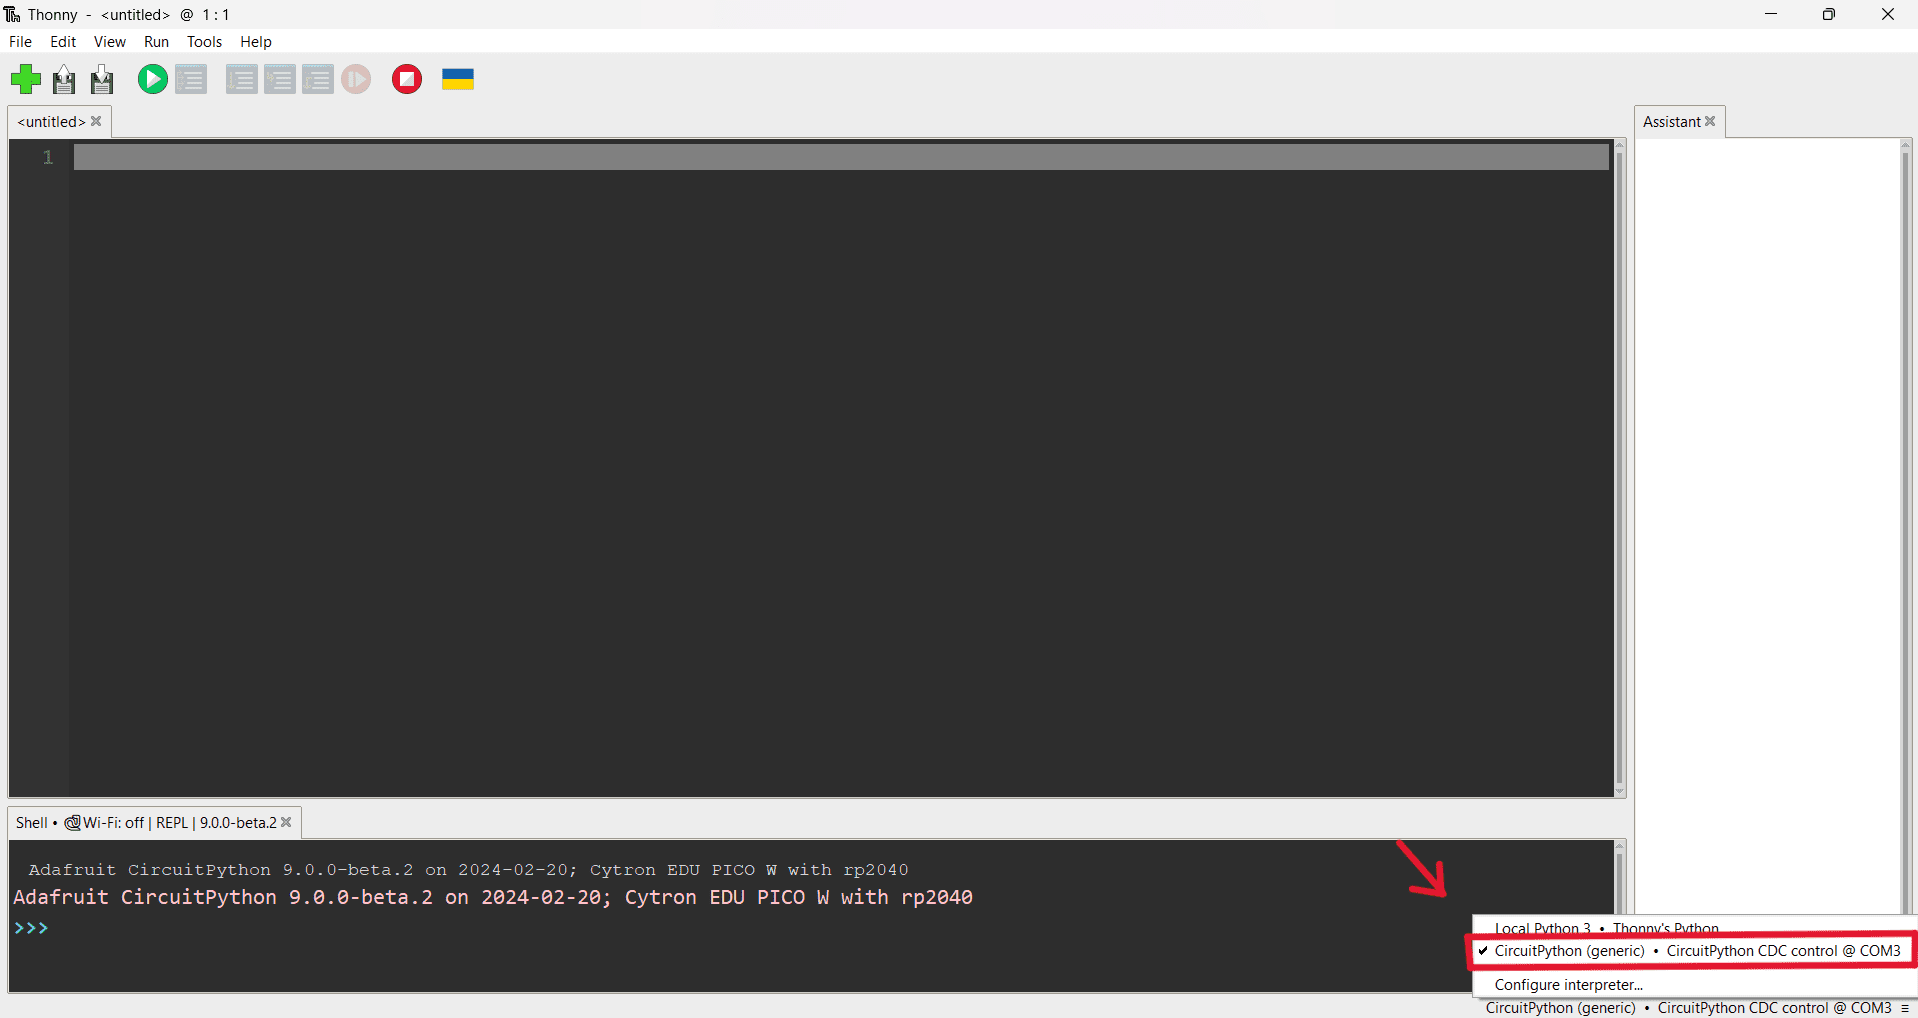
Step 2: Setup your Thonny IDE (watch the setup video below).
Step 3: Open up your Thonny IDE and select CircuitPython in the interpreter.
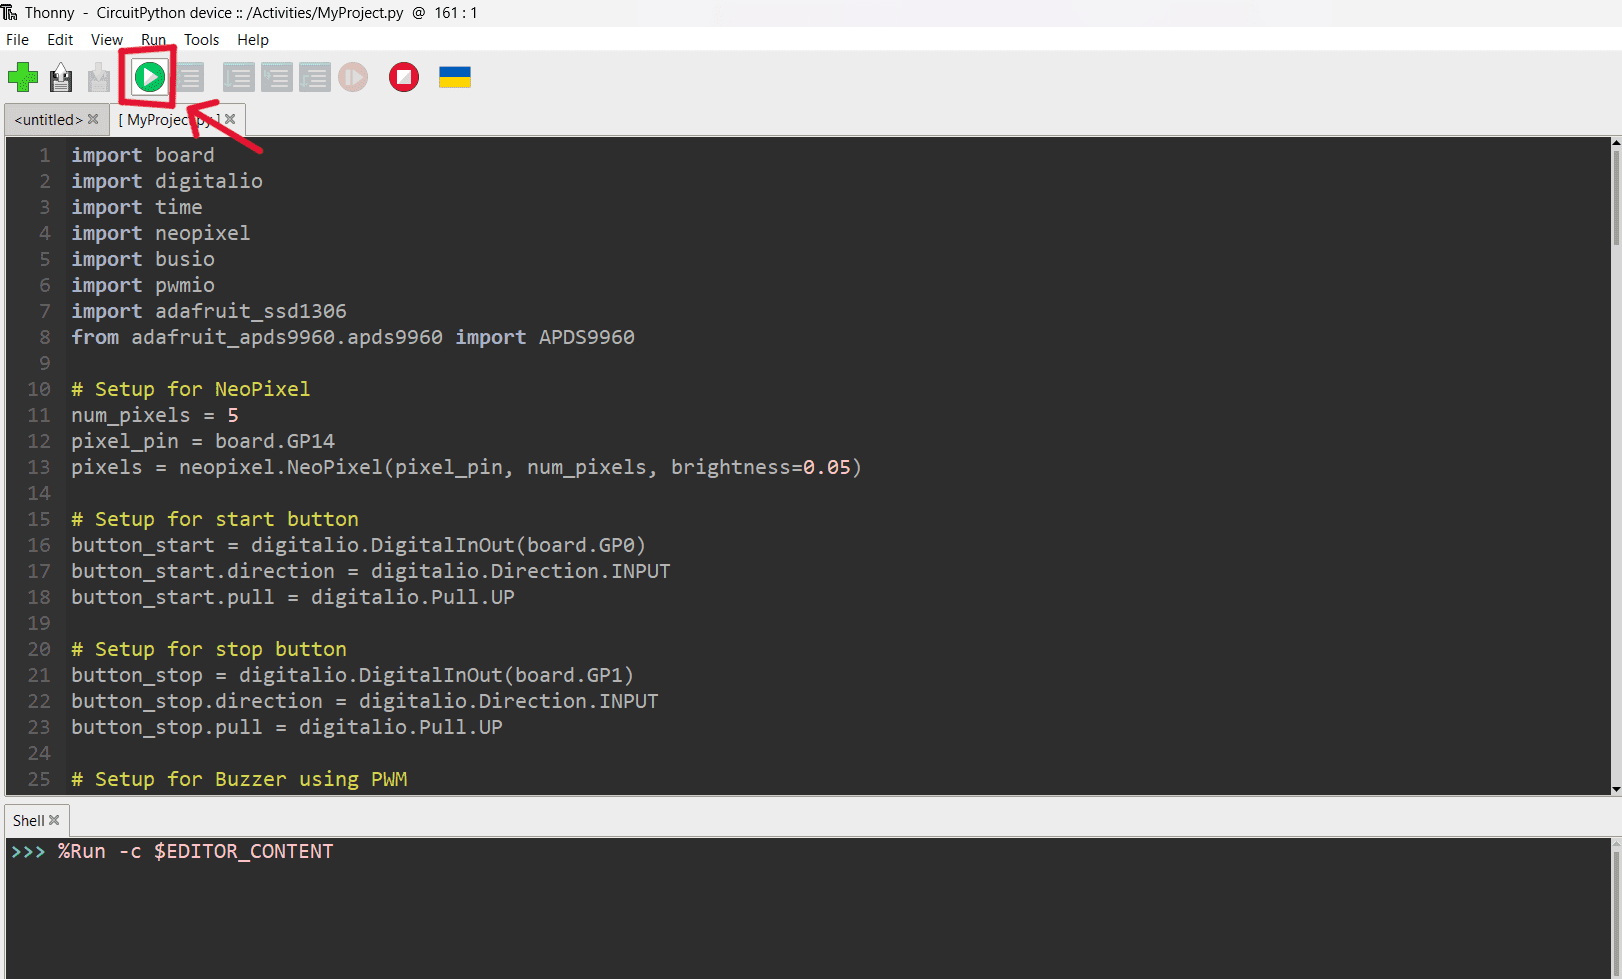
Step 4: Copy and paste the code below into Thonny IDE.
Step 5: Run ▶️the program.
Step 6: OLED will display “Press yellow button to start”
(from this step onwards may see the demonstration video above 😉)
Step 7: Now you may press on the yellow button to activate the speed detection system.
- When yellow button is pressed, OLED will display “Loading” and the RGB LED will show red lights.
- When it is ready, OLED will display “You are ready to go” and “Detecting—” and the RGB LED will turns to green lights.
Step 8: Now you may use your car model to test out the speed detection!
- When the speed is below 30.56 m/s (=110km/h), the OLED will show “Good to go !”,the buzzer will play the notes ”C5", "E5", "G5", "C6” and RGB LED will show green lights.
- When the speed exceeds 30.56 m/s, the OLED will show “Exceed Speed !”,the buzzer will play the note “G4” for five times and RGB LED will blink red lights for five times.
Step 9: Pressed blue button to stop the programme.
- You may start another test again by pressing the yellow button after the programme have been stopped.
~The End~🥰
Hardware Components
 -33%
-33%USB Micro B Cable
$1.00 $1.48 $1.00
x 1 unit(s)

EDU PICO: Project & Innovation Kit for Pico W
$59.00 $59.00
x 1 unit(s)